Quick Answer
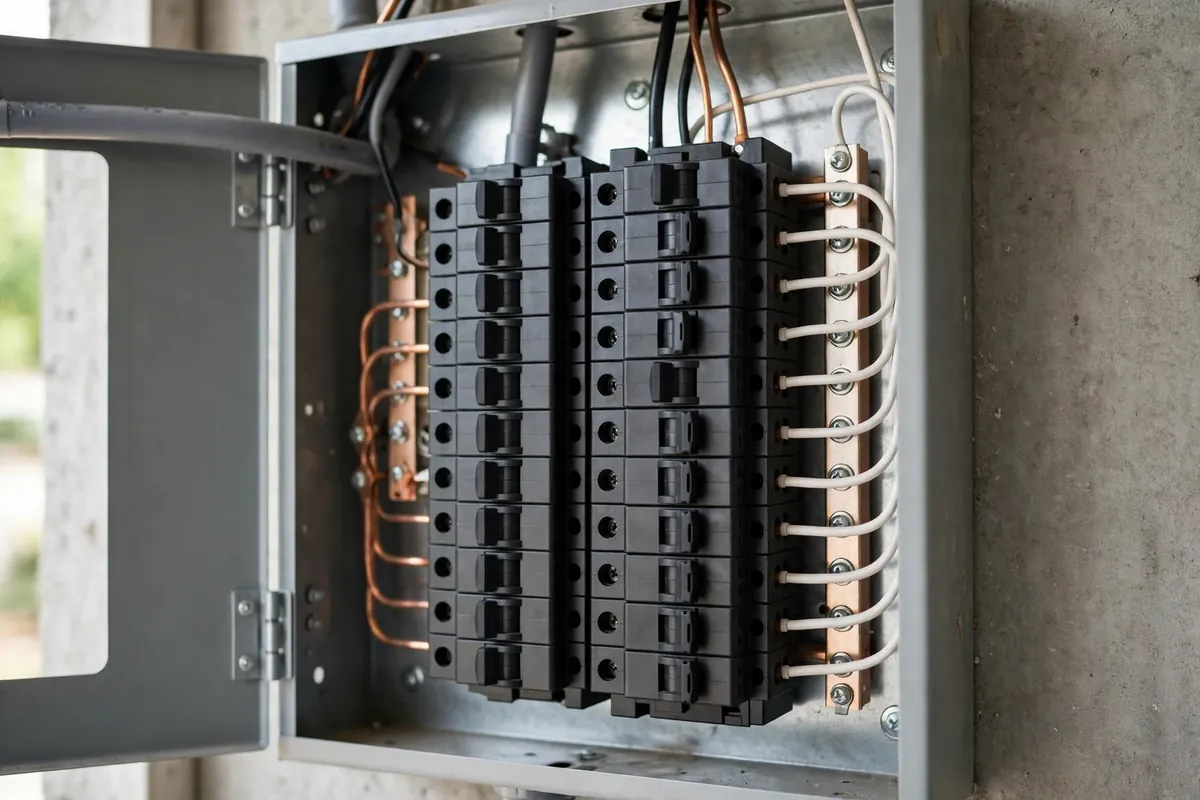
An EV charger is part of a house in a way that a television is not and a built-in oven is. A plug-in charger hangs on an outlet and can be unplugged, packed, and reinstalled at a new address on a suitable circuit. A hardwired charger is wired into the house's electrical system, and removing it means electrical work, a safe termination of the circuit, and a decision about what happens to the wall, the circuit, and the breaker left behind. Both types can move. Neither should be moved as an afterthought on moving day, because the electrical work, the sale paperwork, and the new installation all need lead time that moving week does not have.
This guide covers the decision first, then the mechanics: how plug-in and hardwired removal actually work, how to pack and transport a charger, what reinstallation at the new house involves, what to hand over if the charger stays, and how the same questions play out for condo owners, renters, and landlords. It also gives a timeline that slots the charger work into a move without creating a last-minute crisis. The guides it builds on are the NEMA 14-50 versus hardwired comparison for the charger types, the replace-or-upgrade guide for the old-charger question, the permit guide for the new installation's paperwork, and the breaker and wire sizing guide for the new circuit's sizing.
One distinction runs through the whole guide and is worth stating plainly: removing a charger and reinstalling a charger are two separate jobs, at two addresses, possibly with two different electricians, and each needs its own booking. A move does not transfer an installation; it ends one and starts another. Planning them as one vague "charger move" is how moving week ends with a charger in a box, a new house with no circuit, and a car that cannot charge at either address.
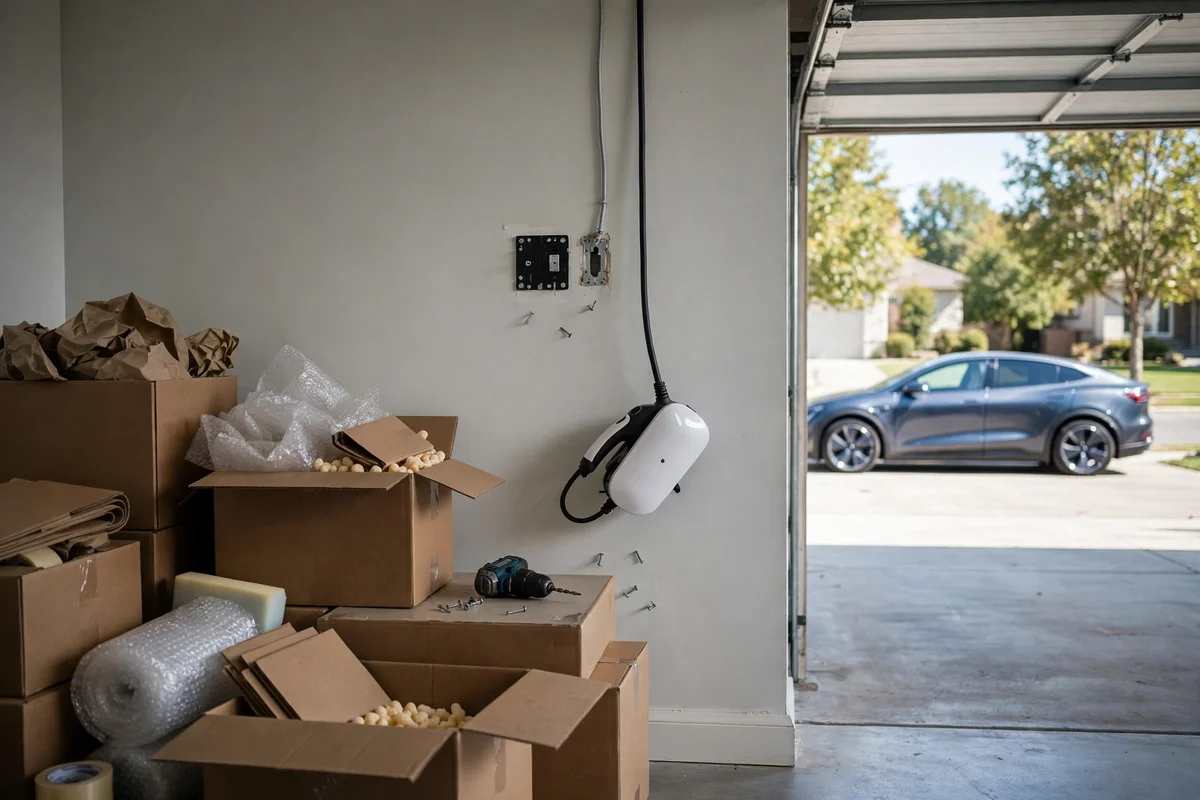
1. The First Decision: Take It, Leave It, or Replace It
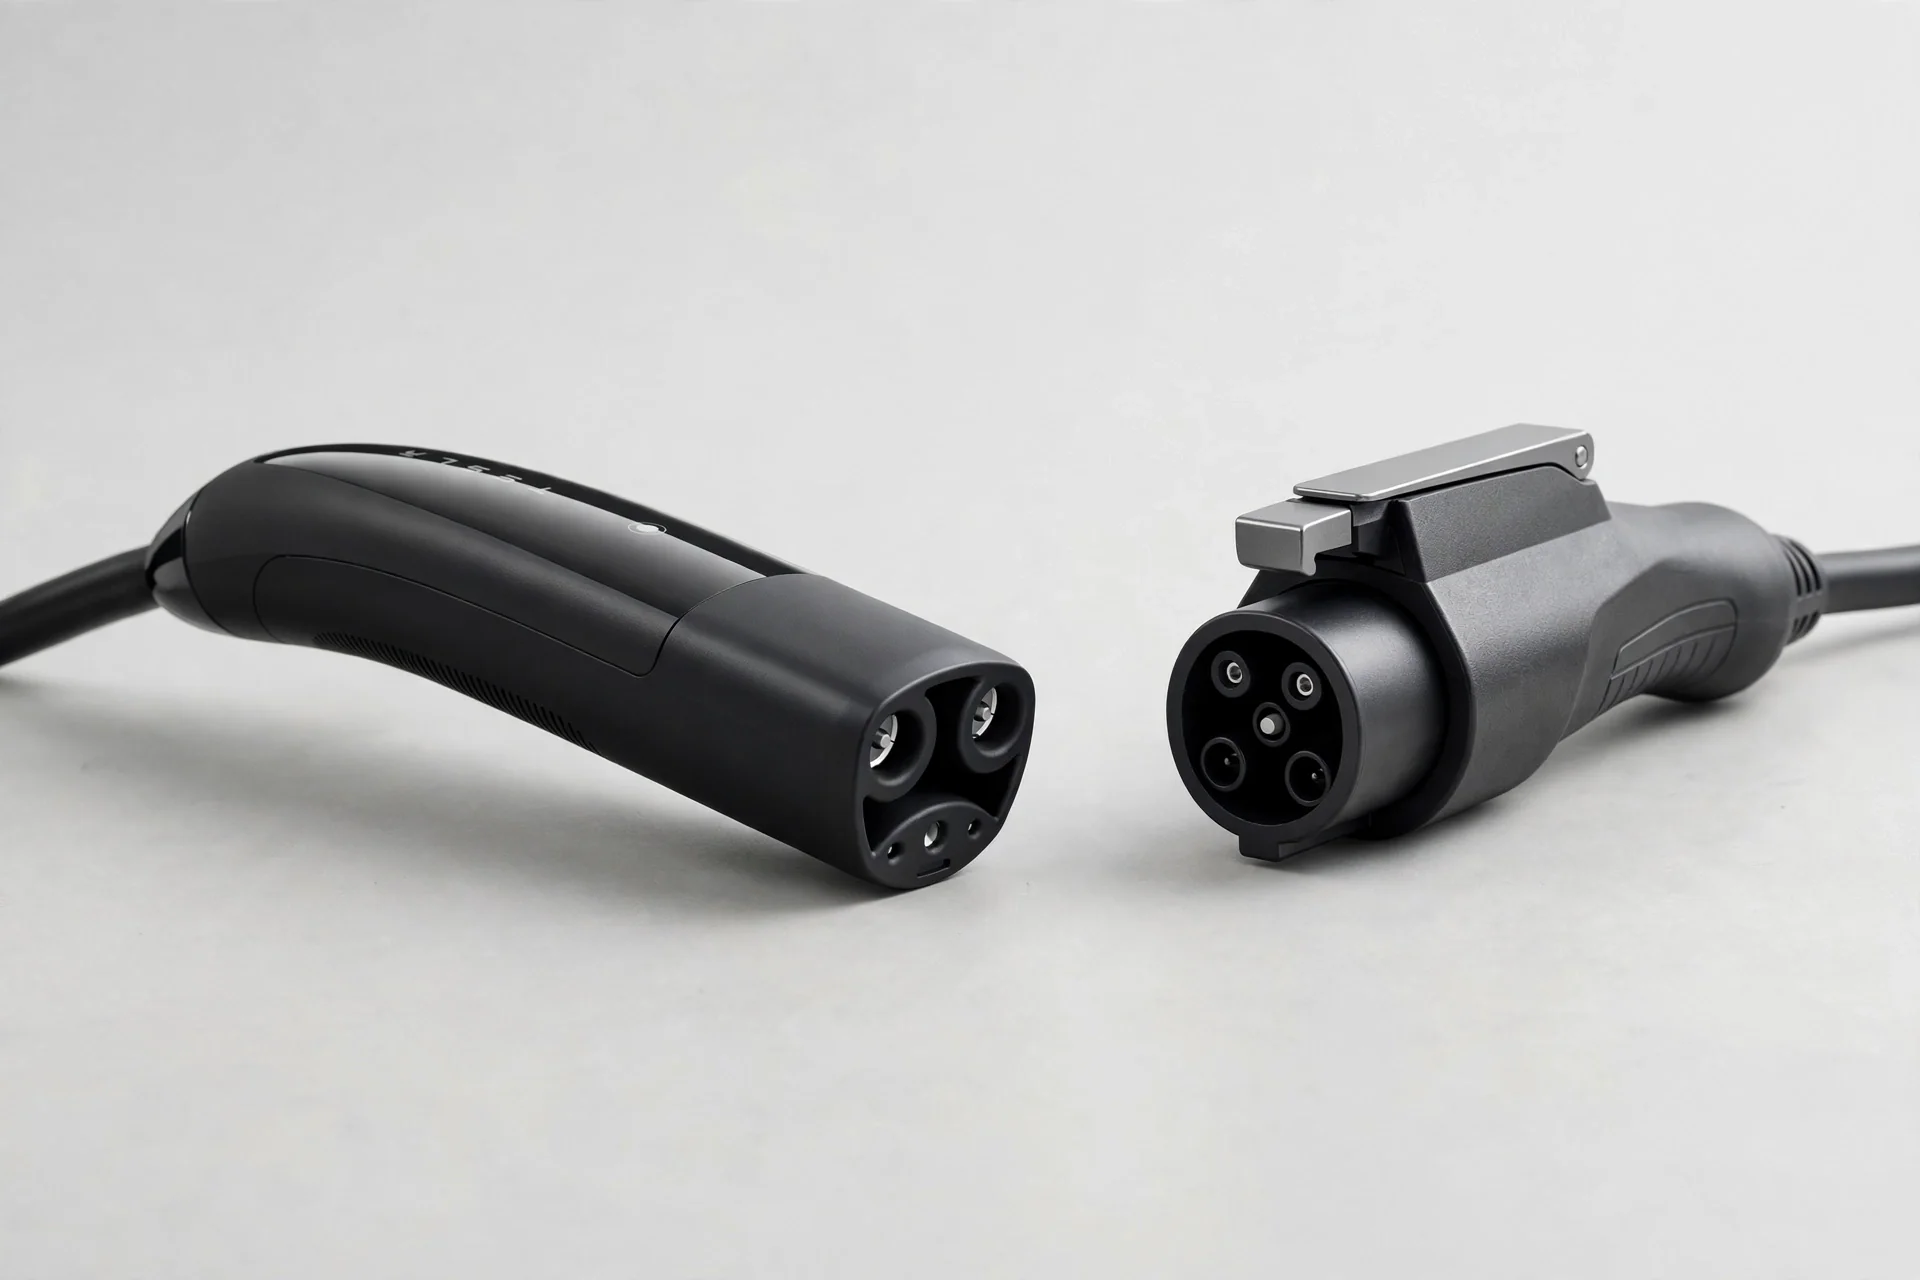
The decision starts with charger type, and then with the new house. A plug-in charger is the easiest case for taking: unplug it, pack it, and reinstall it at the new house on a suitable outlet and circuit, or keep it as a portable unit in the meantime. The cost of taking it is mostly transport and a new installation at the new address, and the benefit is keeping a charger you already own and know. A plug-in charger is also the easiest case for leaving: the outlet stays, the charger goes, and the new owner can plug in their own unit. Either way, the decision is reversible and low-stakes, which is why plug-in owners rarely regret deciding early.
A hardwired charger is a harder case. Taking it means paying for removal at the old house — including safe termination of the circuit and making good the wall — and paying for a full installation at the new house, which needs its own circuit, permit, and inspection where applicable. The total can approach the cost of a new charger, which is why many hardwired owners decide to leave the unit and buy new at the new address, especially if the old unit is several years old or if the new house needs a different charger type, cable length, or connector. Leaving a hardwired charger also has a sale benefit: a working charger is a visible, understandable feature for a buyer who drives electric, and it removes one item from the moving-week workload entirely.
Age and condition should weigh in the decision alongside type. A charger near the end of its life, one with a damaged cable, or one whose maker no longer supports it is a poor candidate for relocation, because the removal and reinstallation cost buys years you may not get. The lifespan guide covers the wear signs, and the replace-or-upgrade guide covers the repair-versus-replace arithmetic. A charger that is young, in good condition, and matched to the car you will keep driving is the strongest candidate for taking. A charger that is old, damaged, or mismatched to the next car is a stronger candidate for leaving or for responsible disposal, which section 6 covers.
The new house is the other half of the decision. A new house with a suitable panel, a garage in the right place, and a short wire route makes relocation straightforward. A new house with a full panel, a detached garage, or a parking layout that needs a pedestal or a long run makes relocation a larger project, and that project should be priced before the decision, not after the charger is already in a box. Get the new-house assessment early — ideally during the inspection period — so the take-or-leave decision is made with numbers, not hopes.
2. The Sale Paperwork: What the Contract Should Say
A charger that is not mentioned in the sale paperwork is a dispute waiting for closing day. In most residential sales, fixtures — items attached to the property — stay with the house unless the contract specifically excludes them, and a hardwired charger is a fixture by that logic. A plug-in charger is closer to personal property, because it can be unplugged and taken, but even that is not always obvious to a buyer who toured the house with the charger on the wall. The safe approach is to state the charger's fate explicitly in the contract or in a written addendum: the charger stays, or the charger goes, and if it goes, what is left behind — the circuit, the outlet, the wall repair — is described too.
Buyers and sellers should also agree on the condition the charger is left in, if it stays. A working charger, its manual, its account removed, and its settings reset is a clean handover. A charger with a known fault, a damaged cable, or an account still linked to the seller is not. If the charger stays and has a fault, disclose it in the same way any other fixture fault would be disclosed, rather than leaving the buyer to discover it at the first charge. If the charger goes, the seller's obligation is to leave the electrical installation safe: a hardwired circuit properly terminated, a breaker labelled, and a wall made good, as section 3 describes. A dangling wire, an open junction box, or a live circuit with no charger on it is not an acceptable state to hand over, and a home inspector will flag it.
Real estate agents and closing attorneys handle the exact wording for the local market, and this guide does not replace that advice. What this guide adds is the checklist of items the wording must cover: charger included or excluded, cable and mounting hardware included or excluded, account removal and reset, manual and warranty documents, circuit and outlet left behind, and wall repair responsibility. A contract that covers those six items leaves nothing for closing day to argue about. A contract that says nothing about the charger leaves all six open.
3. Removing a Hardwired Charger: An Electrician's Job
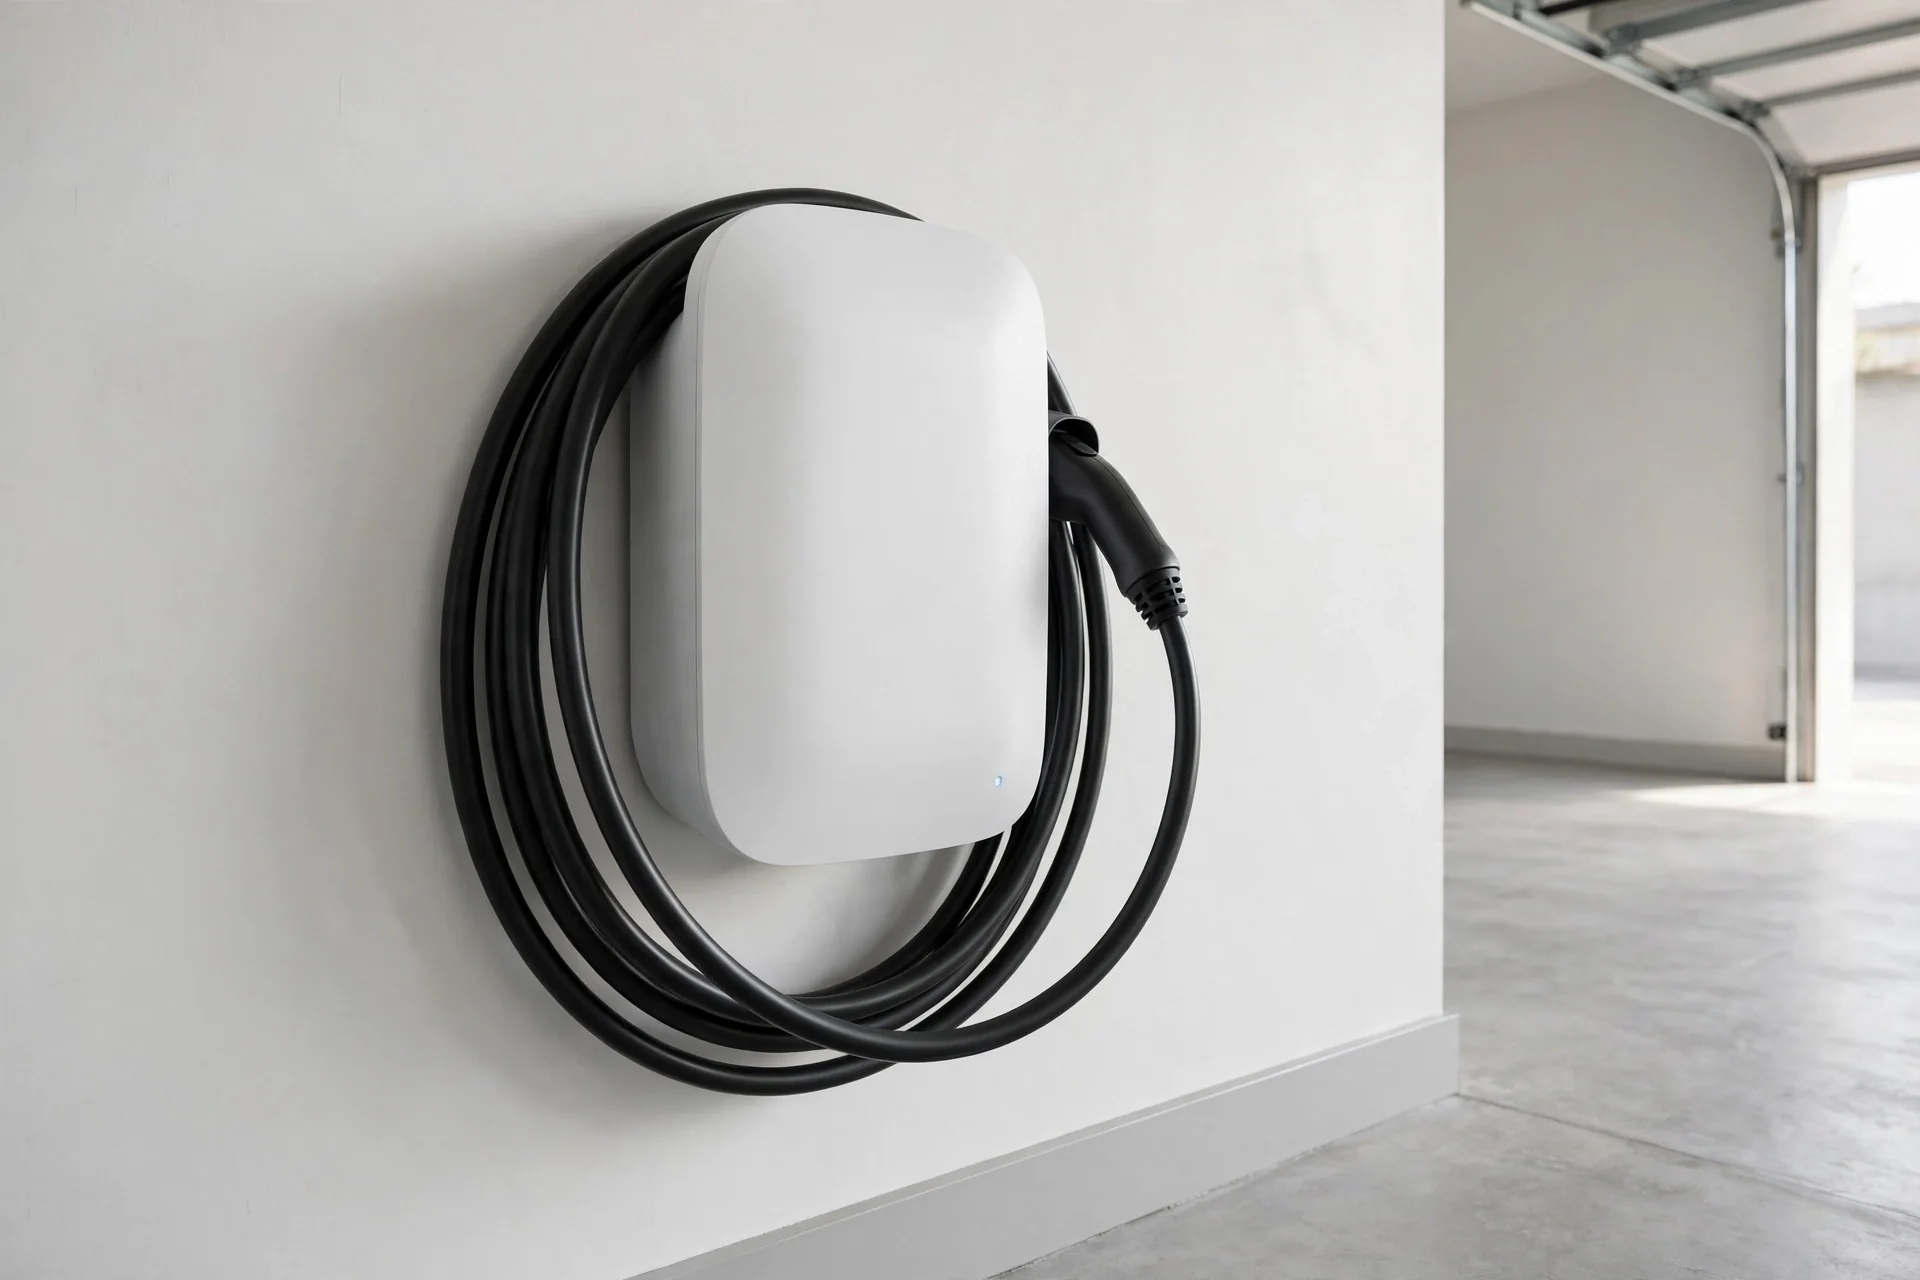
Removing a hardwired charger is electrical work, and it should be booked as such, not attempted as a moving-day task. The sequence an electrician follows is straightforward: switch off and lock out the circuit at the panel, verify the circuit is dead, disconnect the charger from its wiring, terminate the circuit safely — either by removing the circuit entirely or by capping and enclosing the conductors in an approved box, depending on whether the circuit will be reused — and label the breaker or remove it, depending on the plan. The wall is then made good: mounting holes filled, the surface repaired, and any conduit or cable entry dealt with. The work is not large, but it is not casual either, and it must be done by someone qualified to work on the panel.
Timing matters. Book the removal for a day before the final walkthrough, not for moving day itself, so the finished wall and the terminated circuit are visible and inspectable when the buyer or inspector looks. A removal done in a rush on moving day, with boxes everywhere and the power already scheduled for transfer, is how details get missed — a breaker left live, a box left open, a wall left unpatched. A removal done a few days early, with time for a proper finish, is a small job done well. If the charger is being taken to the new house, the removal visit is also the moment to record the charger's settings — its configured current, its schedule ownership, its access settings — because those settings will need to be recreated at the new installation, and the old house's panel will not be available to check afterwards.
There is one more removal question owners forget: the utility and account side. Remove the charger from its app account, or transfer it where the maker allows, so the next owner or the next installation starts clean. A charger still linked to a previous owner's account can block setup at the new address, and a charger left behind with the seller's account still attached gives the new owner a device they cannot fully control. Account removal takes minutes, and it should happen at removal time, not weeks later when the old account is forgotten. The ownership guide covers the account and access steps for Wall Connector households, and the principle applies to any smart charger.
4. Removing a Plug-In Charger: The Owner-Safe Version
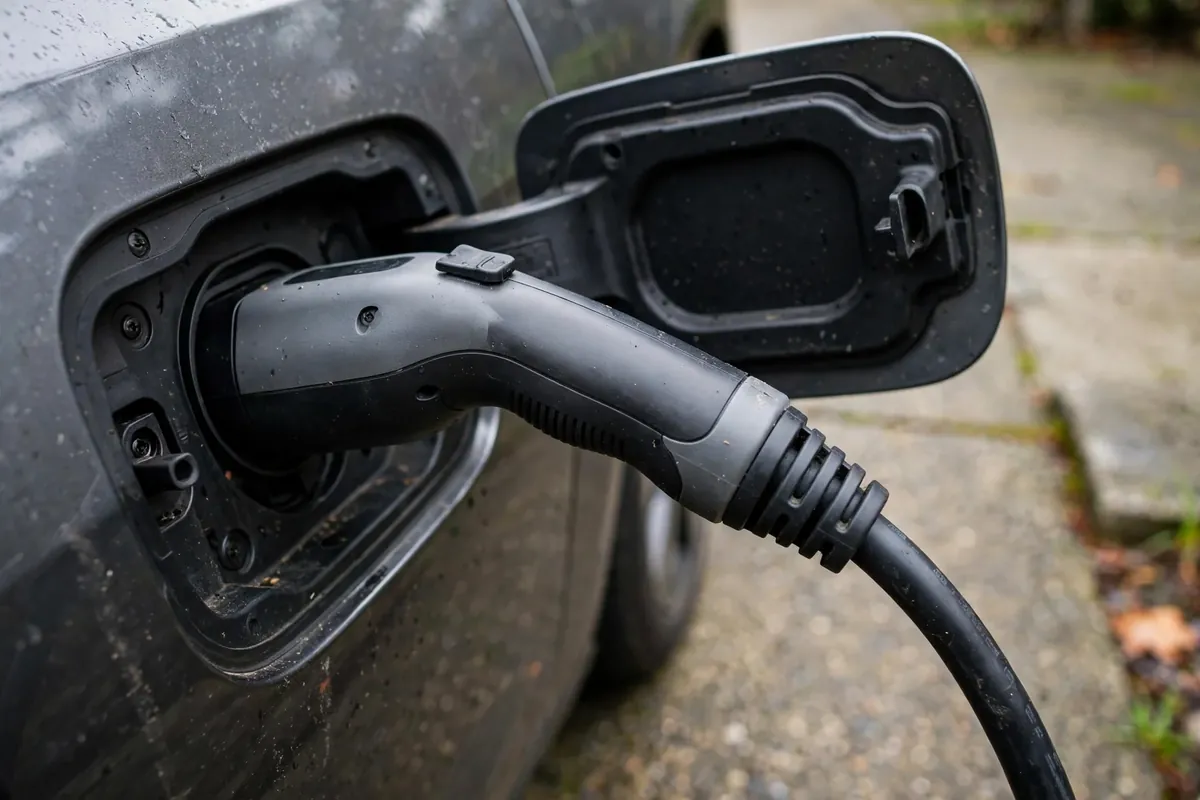
A plug-in charger is the one removal an owner can safely do without an electrician, because the electrical disconnection is simply unplugging it. Switch the charger off if it has a switch, unplug it from the outlet, coil the cable loosely without kinks, remove the mounting bracket if it is screwed to the wall, and fill the screw holes if the charger is leaving and the wall needs to be made good. The outlet itself stays, the circuit stays, and the breaker stays — the new owner can plug in their own charger, or the seller can leave the outlet as a feature. That simplicity is the plug-in charger's great advantage at moving time, and it is worth remembering when choosing a charger type for a house you may leave within a few years.
Even a plug-in removal has two steps owners sometimes skip. First, remove the charger from its app account and reset it where the maker provides a reset, for the same reason as the hardwired case: a clean start at the next address. Second, decide what happens to the mounting hardware and the cable management. A wall bracket screwed into studs, a cable hook, and a holster are small items, but they are the difference between a new installation that starts from scratch and one that reuses a known-good mounting. If the charger is going to the new house, take the bracket and the holster with it, with their screws, and photograph the mounting position before removal so the new installation can match the height and cable route that worked.
A plug-in charger also makes a useful interim charger during the move itself. Between removal at the old house and installation at the new house, there may be days or weeks with no home charger, and a plug-in unit can charge from a suitable outlet elsewhere — a family member's garage, a rental property with a proper outlet — where a hardwired unit cannot. That interim use is a reason to keep the plug-in charger accessible during the move, not buried in a sealed box at the back of a moving truck. Pack it last, unpack it first, and keep its cable and adapter with it, not in a separate box.
5. Packing and Transport: Protecting the Cable and Connector
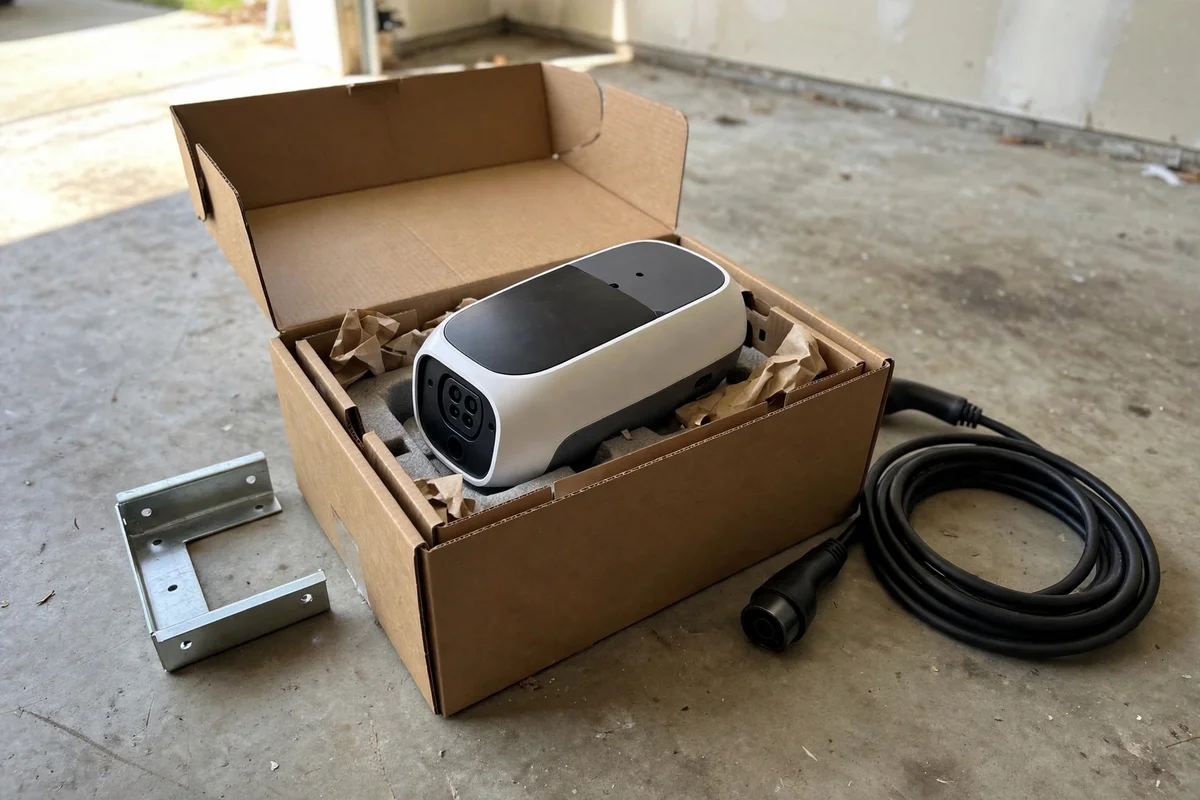
Chargers travel badly when they are treated as just another box. The cable is the vulnerable part: a cable that is kinked, crushed, or bent sharply can develop internal damage that shows up later as heat or faults, and a connector that is dropped onto concrete can crack or bend pins in ways that are not always visible. Pack the charger as the electrical device it is. Coil the cable loosely in a wide loop, never in a tight coil or a sharp bend. Protect the connector with its cap if it has one, or with padding if it does not. Place the charger unit itself in a box with padding on all sides, with the mounting bracket, screws, manual, and any adapter in the same box, so the installation at the new house does not start with a search through moving boxes for a bracket.
Label the box clearly — "EV charger, cable, bracket, manual" — and keep it with the items that travel with you, not with the items that go into storage. A charger in storage for months while a new installation is planned is a charger whose condition cannot be checked and whose warranty period keeps running. If the new installation will not happen for months, consider whether relocation is still the right choice, or whether leaving the old charger and buying new later is cleaner. And if the charger is damaged in transit — a cracked housing, a cut cable, a bent connector — have it assessed before reinstalling it, rather than installing a damaged unit and hoping the fault does not appear. The replace-or-upgrade guide covers the assessment question for a damaged charger.
Transport also has a paperwork side: keep the manual, the purchase record, and any warranty documents with the charger, not in a filing box. The new installation's electrician may need the manual for the configured current and the wiring requirements, and a warranty claim later will need the purchase record. A charger without its manual is a puzzle for the next installer, and a charger without its purchase record is a warranty claim without evidence. Both documents fit in the same box as the charger, and both are worth the minute it takes to put them there.
6. Reinstalling at the New House: A New Installation, Not a Transfer
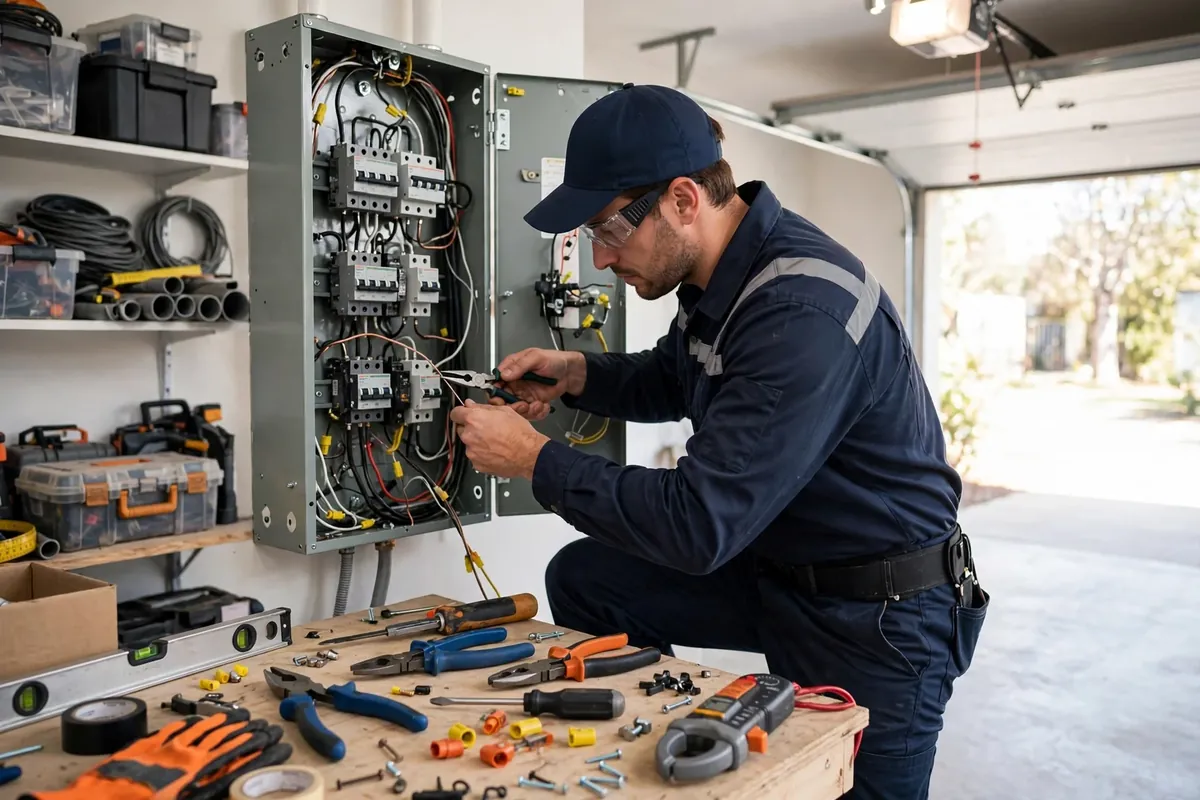
Reinstallation at the new house is a new installation, and it should be planned as one. The steps are the same as any new charger installation, and the what-to-expect article describes the sequence: a panel and load assessment, a circuit plan, a permit where required, the installation itself, and inspection. The fact that the charger is second-hand — previously installed at another address — does not shorten any of those steps, and it adds one: a condition check of the charger itself before it is installed, so a unit damaged in removal or transport is not wired into a new house.
The new house's panel is the first check, and it should happen during the inspection period if possible. A panel that cannot spare the capacity, a panel that is obsolete or damaged, or a garage that needs a long wire route or a pedestal all change the scope and the timing, and discovering them after closing is worse than discovering them during the inspection period, when the information can still inform the purchase decision or the moving budget. The panel guides — the panel upgrade guide and the 100-amp panel guide — cover the capacity question, and the outdoor installation article covers the pedestal and exterior-route question. Get the assessment in writing, with the circuit size, the wire route, and the permit requirement stated, so the reinstallation can be booked with confidence.
The charger's settings must also be recreated, not assumed. The configured current at the old house matched the old circuit; the new circuit may be a different size, and the charger must be configured to the new circuit's charging current under the continuous-load rule, as the breaker and wire guide explains. The schedule ownership, the access settings, and the app account must all be set up fresh, because a reset charger has none of them. An installer who recreates the settings from the record made at removal — which is why section 3 insists on making that record — finishes the job in one visit. An installer who has to guess the settings, or who inherits a charger with unknown settings, spends the visit discovering them.
7. Leaving the Charger Behind: A Clean Handover
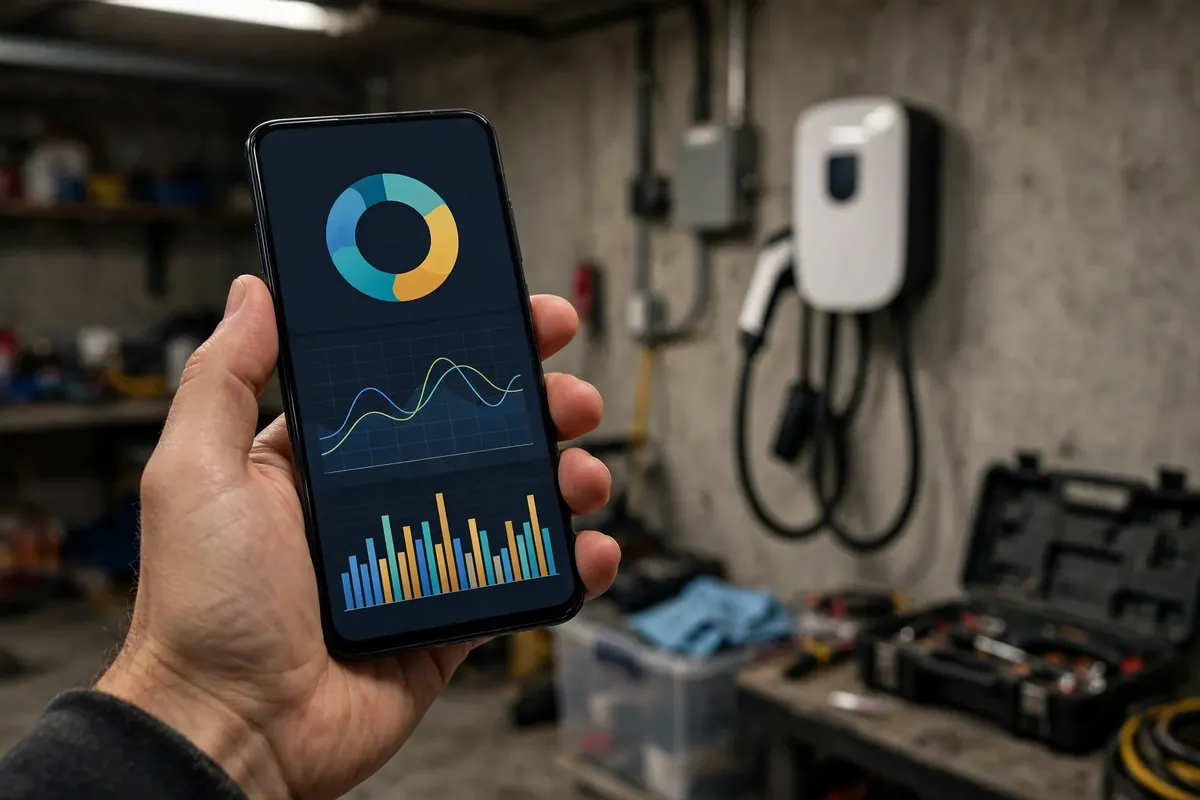
Leaving a charger behind is often the simplest choice, and it deserves the same care as taking one, because the next owner inherits a device they did not choose. The handover checklist is short: the charger in working order, its cable and connector in good condition, its manual left in the house, its app account removed and the unit reset, its breaker labelled, and any known fault disclosed. A charger left with a fault undisclosed is a dispute; a charger left with its manual and a clean account is a feature. The difference is an hour of preparation, and it is worth it for the same reason any fixture handover is worth it: the next owner should be able to use what they inherited without first untangling the previous owner's setup.
Warranty and support also transfer, or do not, depending on the maker. Some charger warranties follow the unit, some follow the original purchaser, and some require registration by the new owner. If the charger stays, leave the purchase record and warranty documents with the manual, and note the warranty position in the handover, so the new owner knows whether they can claim and how. If the warranty does not transfer, saying so plainly is better than leaving the new owner to discover it during a claim. The same applies to any subscription or app service attached to the charger: state whether it continues, ends, or needs a new account, and do not leave a service running on the seller's payment details after the sale.
For the seller, leaving the charger also simplifies the move in a way that is easy to undervalue: one less electrical job, one less installation to book, and one less box to transport. For a move that is already complex, that simplicity can be worth more than the charger's remaining value, especially if the new house will need a different charger type or a different cable length anyway. The decision is not purely financial, and a seller who values a simple move over a relocated charger is making a reasonable choice, not a wasteful one.
8. Condos, Rentals, and Landlords: Moves With Extra Parties

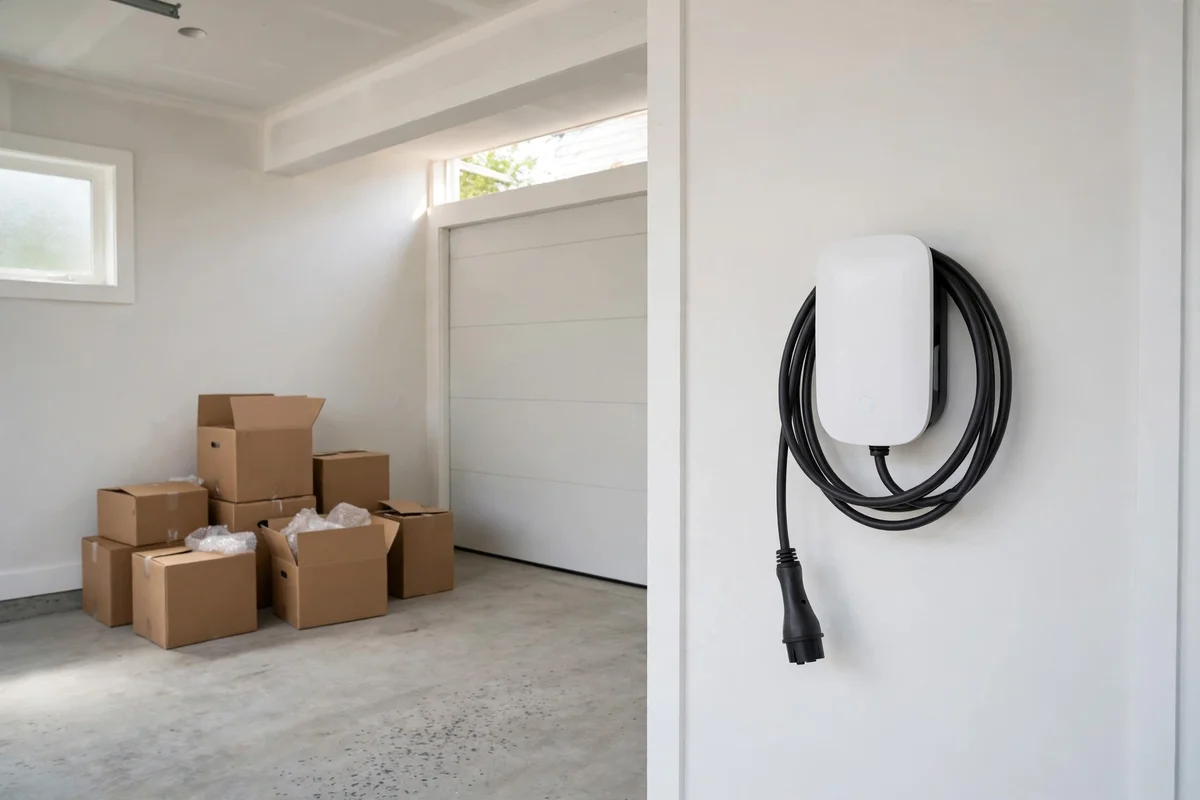
Condo and rental moves add parties to every charger decision, and the extra parties need to be consulted early. A condo owner moving out of a unit with a charger in an assigned parking space faces the HOA question first: does the charger belong to the unit, to the parking space, or to the owner, and does the association require the charger to be removed, left, or transferred with board approval? The HOA rights guide covers the Florida law and the association-approval landscape, and the same logic applies at move-out: check the association's rules and the purchase or lease documents before assuming the charger can stay or go. A charger removed without approval, or left without approval, can both create association problems that a sale or a tenancy change does not need.
Renters face a similar question from the landlord's side. A charger installed with the landlord's permission, in a rental property, is usually either the tenant's property to take or the landlord's fixture to keep, depending on what was agreed at installation time. If the agreement was written, it governs. If it was verbal, it should be confirmed in writing before the move, while both parties are still in contact and the installation is still in place. A tenant who takes a charger the landlord believed was staying, or leaves a charger the landlord expected to be removed, creates a deposit dispute that a short written confirmation would have prevented. The FPL program guide touches the renter question for program chargers, where the program's own terms may decide the matter.
Landlords, in turn, should think about the charger as a property feature when a tenant leaves. A working charger in a rental property is an amenity for the next tenant, but only if it is handed over cleanly — account removed, manual left, condition known. A charger left by a departing tenant with an unknown account, an unknown condition, and no manual is a liability, not an amenity, and a landlord who inherits one should have it assessed before offering it to the next tenant. The assessment is a small cost that prevents a larger problem, and it is the same assessment section 6 describes for a relocated charger.
9. The Moving Timeline: Slotting Charger Work Into a Move
A charger move that is planned on a timeline is a series of small jobs; a charger move that is not planned is a crisis on moving day. The timeline below assumes a typical sale and purchase, and it can be compressed for a rental move, where the sale-paperwork steps drop out.
Eight weeks before moving, decide take or leave, based on charger type, age, and the new house's panel assessment. Six weeks before, confirm the sale paperwork wording for the old house and the installation plan for the new house, including the circuit size and the permit requirement. Four weeks before, book the removal at the old house and the installation at the new house, with dates that leave slack — removal a few days before the final walkthrough, installation after closing and after the new house's power is in your name. Two weeks before, record the charger's settings, remove it from its app account at removal time, and pack it as section 5 describes, with its manual and bracket in the same box. On moving week, the charger work should already be done or booked, and the car should have a charging plan for the gap — a public charging post, a family member's outlet, or a plug-in unit kept accessible — so the gap days do not become a crisis.
The gap plan deserves emphasis, because it is the part owners most often forget. Between removal and reinstallation, there will be days with no home charger, and the car still needs charging. Public charging posts, workplace charging, and a plug-in unit used elsewhere are all workable gap solutions, and the beginner's guide covers the public-charging basics for owners who have never used them. A gap plan made in advance turns a week without home charging into a minor inconvenience. A gap discovered on moving night turns it into a problem that competes with everything else moving night already demands.

Key Takeaways
- Decide take or leave early, based on charger type, age, and the new house's panel and parking layout — not on moving day.
- State the charger's fate explicitly in the sale paperwork, including cable, bracket, account removal, manual, circuit, and wall repair.
- Hardwired removal is an electrician's job: safe circuit termination, a labelled breaker, a made-good wall, and a recorded settings list, booked before the final walkthrough.
- Plug-in removal is owner-safe: unplug, coil loosely, take the bracket and manual, and keep the unit accessible during the move.
- Pack the charger as an electrical device: loose cable coil, protected connector, bracket and manual in the same labelled box, transported with you.
- Reinstallation is a new installation: panel assessment, circuit sizing for the new circuit, permit where required, and settings recreated from the removal record.
- A charger left behind needs a clean handover: working order, manual, account removed, breaker labelled, faults disclosed, warranty position stated.
- Condo and rental moves need the association's or landlord's position confirmed in writing before the charger stays or goes.
- Plan a charging gap solution for the days between removal and reinstallation, so the move week never leaves the car without a charge.
Should I take my EV charger or leave it for the buyer?
Base the decision on charger type, age, and the new house. A plug-in charger in good condition is usually worth taking, because removal is simple and reinstallation needs only a suitable outlet and circuit. A hardwired charger is worth taking only if the new house can use it without major rework and the unit is young enough to justify removal plus a full new installation. If the old unit is ageing, damaged, or mismatched to the next car, leaving it — with a clean handover — is often the better choice, and it simplifies the move.
Can I remove a plug-in charger myself on moving day?
Yes. A plug-in charger disconnects by unplugging it, so removal is owner-safe: switch it off if it has a switch, unplug it, coil the cable loosely, remove the bracket if it is yours to take, and fill the screw holes if the wall needs making good. The outlet, circuit, and breaker stay for the next owner. Two steps still matter: remove the charger from its app account and reset it, and keep the bracket, manual, and any adapter with the unit, so the new installation does not start with a search through moving boxes.
Who should remove a hardwired charger before a move?
A licensed electrician. Removal involves switching off and verifying the circuit at the panel, disconnecting the unit, terminating the circuit safely in an approved enclosure or removing it, labelling the breaker, and making good the wall. Book it a few days before the final walkthrough, not on moving day, so the finished work is visible and inspectable. Record the charger's configured current, schedule ownership, and access settings at removal time, because the new installation will need them recreated.
Will my charger work at the new house without changes?
Not automatically. The charger itself may work, but the installation is new: the new house's panel must have capacity, the circuit must be sized for the charger's current under the continuous-load rule, the cable route and charger position must suit the new parking layout, and a permit may apply. A charger configured for a 60-amp circuit at the old house cannot simply be wired to a 40-amp circuit at the new house without reconfiguring it. Get a panel and circuit assessment during the new house's inspection period, so the scope is known before closing.
What should I hand over if I leave the charger behind?
A working charger with its cable and connector in good condition, its manual and purchase and warranty documents, its app account removed and the unit reset, its breaker labelled, and any known fault disclosed in writing. State the warranty position plainly — whether it follows the unit or the original purchaser — and state whether any app service continues or needs a new account. A handover that covers those items lets the next owner use the charger immediately; a handover that skips them leaves the next owner untangling the previous owner's setup.
Do I need a new permit when I reinstall a charger I already owned?
In most cases, yes, because the permit attaches to the installation at an address, not to the charger unit. A charger moved from one house to another is a new installation at the new address, and it follows the same permit and inspection requirements as any new charger installation there. The permit guide covers when Orlando and Florida requirements call for a permit and what the inspection covers. Confirm the requirement with the installer for the new address before booking, so the reinstallation is planned with its paperwork included.
Related Posts
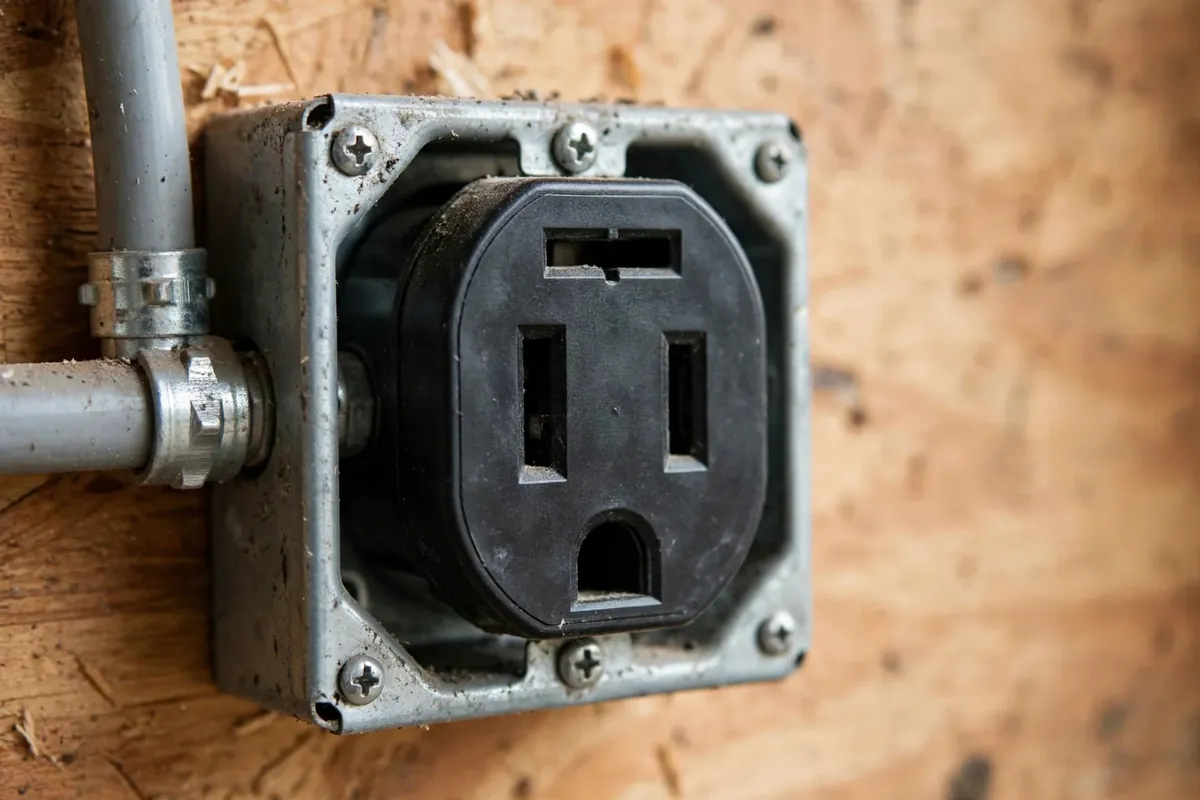
- NEMA 14-50 Outlet vs Hardwired EV Charger: Which Is Right for You?
- When to Replace or Upgrade an Old EV Charger
- Orlando EV Charger Permit Guide
- What Size Breaker and Wire Does a Level 2 EV Charger Need?
Moving soon and need a charger removed, relocated, or installed at the new house? Call now at (407) 555-0100 — we handle removal, the new installation, and the handover across Orlando.
Sources consulted: Florida residential sale practice on fixtures, NEC Article 625 provisions for EV charging circuits, charger maker guidance on removal, account transfer, and reinstallation, and Orlando permit practice for residential charger installations.