Quick Answer
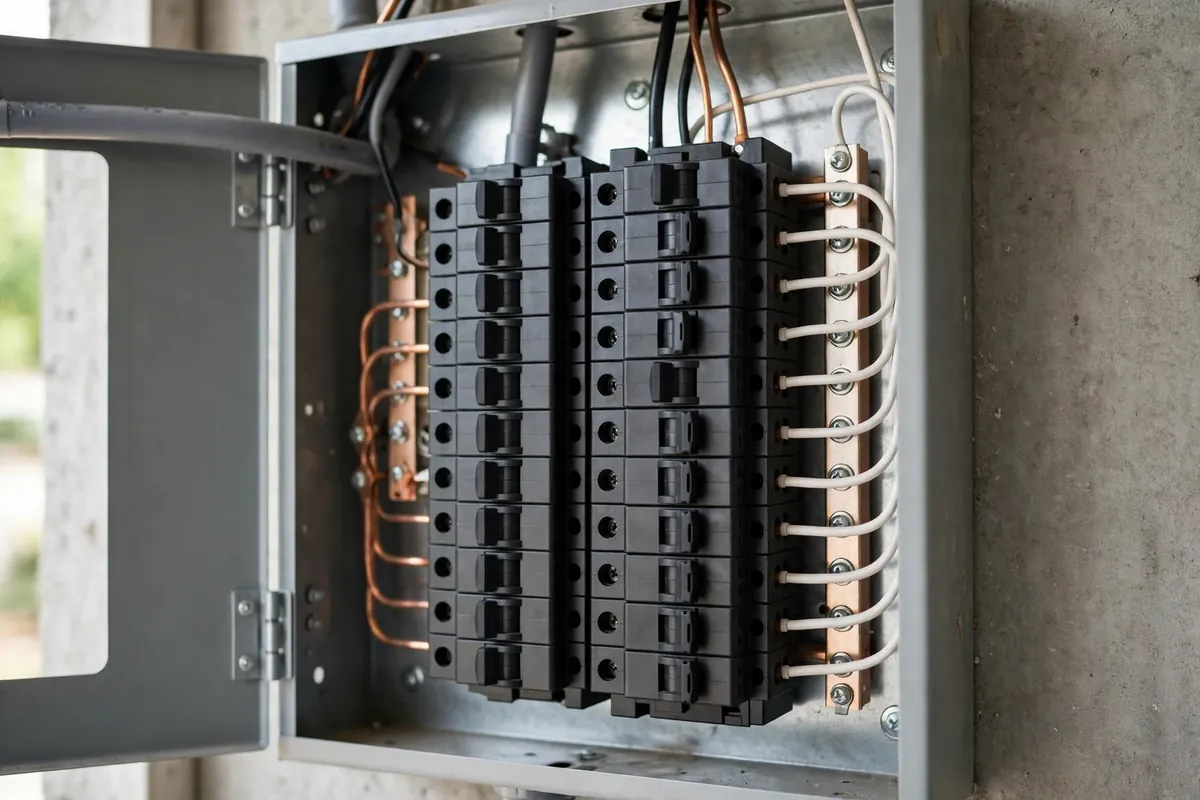
The short answer is a pairing, not a single number: the charger current decides the breaker, and the breaker decides the wire. A home Level 2 charger draws current for hours at a time, and electrical circuits treat that kind of sustained draw differently from a brief load such as a vacuum cleaner or a power tool. The long-standing rule for continuous loads is that the circuit should be sized at 125 percent of the load — in plain terms, the charger should use no more than 80 percent of the circuit's capacity on a sustained basis. That is why the numbers always look one step apart: a charger that draws 32 amps goes on a 40-amp circuit, a 40-amp charger goes on a 50-amp circuit, and a 48-amp charger goes on a 60-amp circuit.
This guide explains that pairing, shows a sizing table you can use to plan, and covers the details people usually miss: breaker types, wire gauge, the effect of a long cable run, the difference between a plug-in charger and a hardwired charger, and what to do when the circuit you already have does not match the charger you want. It is a planning guide, not an installation manual. The figures here describe the usual pairings an electrician will confirm for your panel, your wire route, and your local code. Where this guide and your electrician disagree, your electrician's answer for your house is the one that governs, because the electrician has seen your panel and your wire route and this guide has not.
If you are still choosing between a plug-in outlet and a hardwired unit, read this guide alongside the NEMA 14-50 versus hardwired comparison, which covers the day-to-day differences. If your panel is the constraint rather than the circuit, the panel upgrade guide and the 100-amp panel guide cover that side of the decision. And if your breaker is already tripping, start with the breaker-tripping guide instead — a tripping breaker is a symptom to diagnose, not a sizing table to override.
1. The Continuous-Load Rule, in Plain Terms
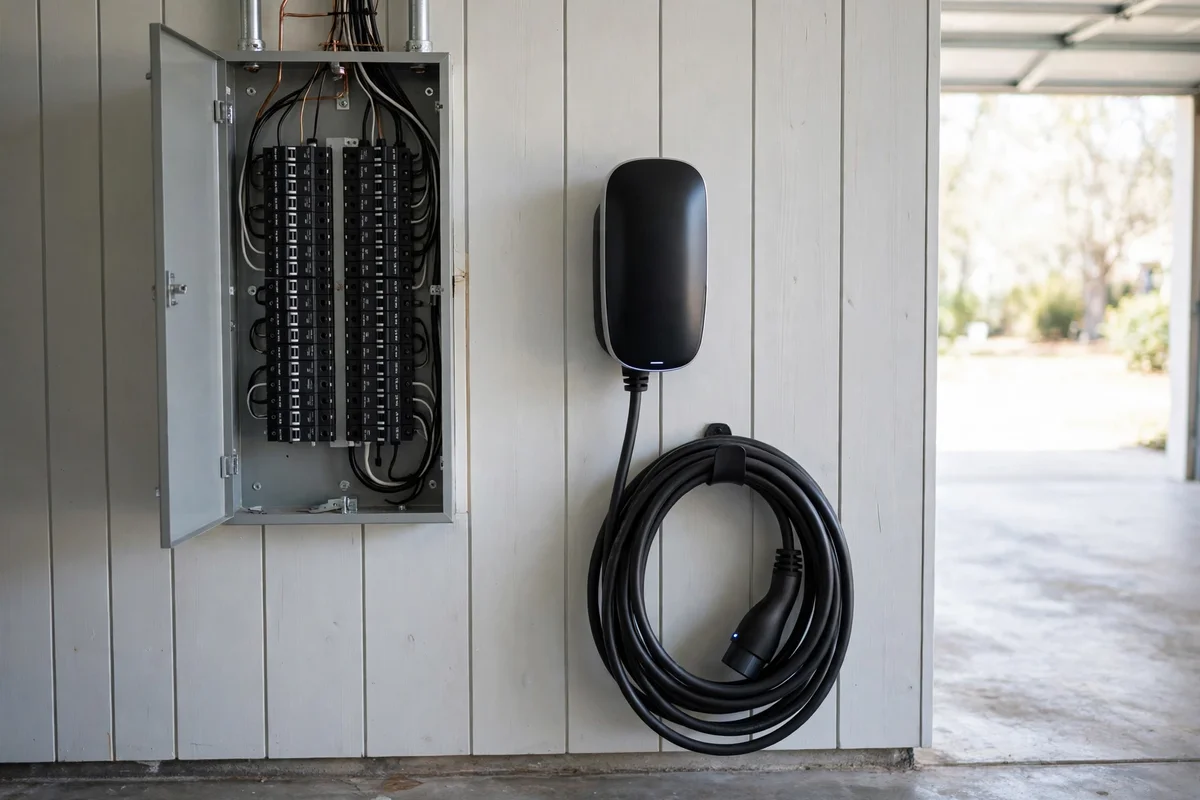
Most household circuits are sized for loads that come and go. A microwave runs for minutes, a hair dryer for less, a washing machine cycles on and off. An EV charger is different: it can draw its full current for six, eight, or ten hours without a break. Wire and breakers heat up under sustained current, and the safety margin for that heat is built into the sizing rule. The rule is simple to state: for a continuous load, the circuit is sized so the load is 80 percent of the circuit capacity, which is the same as sizing the circuit at 125 percent of the load.
Work through one example slowly, because every other number in this guide follows from it. A charger set to draw 40 amps needs a circuit of 40 divided by 0.8, which is 50 amps. That is why a 40-amp charger and a 50-amp breaker belong together. A 48-amp charger needs 48 divided by 0.8, which is 60 amps. A 32-amp charger needs 40 amps. A 24-amp charger needs 30 amps. A 16-amp charger needs 20 amps. Notice that the charger current is never equal to the breaker size for a continuous load. A 40-amp charger on a 40-amp breaker is not a close call or a judgment matter; it is an undersized circuit, and the breaker will do exactly what it is designed to do when a sustained load exceeds its continuous capacity, which is to trip.
There is a second half to the rule that people forget: the charger itself must be set to match the circuit. Many home chargers have an internal current setting, configured during installation, that caps how much current the unit will draw. That setting is what makes the pairing real. A charger capable of 48 amps, installed on a 50-amp circuit, must be configured down to 40 amps, because 50 amps of circuit supports 40 amps of continuous charging. The installer's setting, not the charger's headline capability, is what the circuit actually sees. If anyone later raises that setting without checking the circuit, the pairing breaks, and the breaker starts tripping — which is one of the causes covered in the tripping guide.
One more point about the rule: it applies to the whole circuit, not just the breaker. The wire, the outlet or disconnect, and any connectors in the run must all suit the circuit size. A 60-amp breaker on wire sized for 40 amps does not create a 60-amp circuit; it creates a hazard, because the breaker will allow more current than the wire can carry continuously. Sizing is a chain, and the chain is only as sound as its smallest part. That is why this guide always talks about breaker and wire together, never about one alone.
2. The Sizing Table: Charger Current, Breaker, and Wire

The table below shows the usual pairings for common home Level 2 charger currents. Wire sizes are given for copper conductors in a typical residential run, and they are the starting point for planning — the electrician confirms the final wire for the length of the run, the wiring method, the ambient temperature, and the local code in force.
| Charger charging current | Circuit breaker | Typical copper wire |
|---|---|---|
| 16 amps | 20 amps | 12 AWG |
| 20 amps | 25 amps | 12 AWG |
| 24 amps | 30 amps | 10 AWG |
| 32 amps | 40 amps | 8 AWG |
| 40 amps | 50 amps | 6 AWG |
| 48 amps | 60 amps | 6 AWG |
A few notes on reading this table. First, the wire column shows the common pairing, not a universal law. A long run, a hot attic, or a particular wiring method can push the wire one size larger, and that is a normal electrician judgment, not a sign that something is wrong. Second, the 48-amp row deserves a note: some installations use 4 AWG copper for a 60-amp circuit depending on the wiring method and the terminations, so if your electrician specifies 4 AWG where the table says 6 AWG, that is a conservative choice for your run, not a contradiction. Third, the 20-amp row uses a 25-amp breaker because breaker sizes come in standard steps and 20 divided by 0.8 is 25. Fourth, plug-in chargers have an additional ceiling explained in section 5: a plug-in charger on a NEMA 14-50 outlet is limited to 40 amps of charging current even though the outlet sits on a 50-amp circuit, because the outlet itself is part of the pairing.
Use the table to plan conversations, not to order parts. When an installer quotes a job, the table lets you check that the quoted breaker and wire belong together and match the charger you chose. If a quote shows a 40-amp charger on a 40-amp breaker, or a 60-amp breaker on 8 AWG wire, ask about it before the work starts. Either could have an explanation in a particular configuration, but both deserve a question, because both break the pairing this guide describes.
3. Breaker Types: What Sits in the Panel
Not every breaker is the same, and the type matters as much as the size. The common types in a home EV circuit are the standard thermal-magnetic breaker, the ground-fault circuit interrupter (GFCI) breaker, and, in some configurations, a breaker with additional protection functions required by the code for the wiring method or location. The panel type also matters: the breaker must be listed for the panel it sits in, and breakers from one maker's panel do not automatically fit another maker's panel, even when they look similar.
GFCI protection deserves a careful explanation because it confuses many owners. For a plug-in charger, the outlet the charger plugs into generally requires GFCI protection under current code, and that protection is often provided by a GFCI breaker. For a hardwired charger, the charger itself generally provides its own ground-fault protection internally, and an additional GFCI breaker is usually not required — and in some cases, two layers of ground-fault protection can interact and cause nuisance tripping. This is one of those places where "more protection" is not automatically better. The installer decides the protection arrangement for the configuration being installed, and owners should not add a GFCI breaker to a hardwired circuit on their own initiative, nor remove GFCI protection from a plug-in outlet circuit. The tripping guide covers the GFCI interaction in more detail for owners whose plug-in charger keeps tripping.
Breaker space is a separate practical question. A Level 2 circuit needs a two-pole breaker, which occupies two spaces in the panel. A panel that looks full may still have room if tandem or quad breakers are permitted for that panel, or it may genuinely be full, in which case the options are a subpanel, a panel replacement, or a load-management device — all covered in the panel guides linked above. Breaker size and breaker space are different constraints, and a job can be blocked by either one. When an installer says the panel cannot take another circuit, ask whether the constraint is space, capacity, or both, because the remedies differ.
Finally, a breaker is a protective device, not a switch for daily use and not a dial for charging speed. Repeatedly resetting a tripped breaker without finding the cause, or swapping in a larger breaker to stop tripping, defeats the protection the breaker exists to provide. The tripping guide's rule is worth repeating here: a breaker that trips twice is telling you something, and the answer is diagnosis, not a larger breaker.
4. Wire Gauge, Wire Material, and the Length of the Run
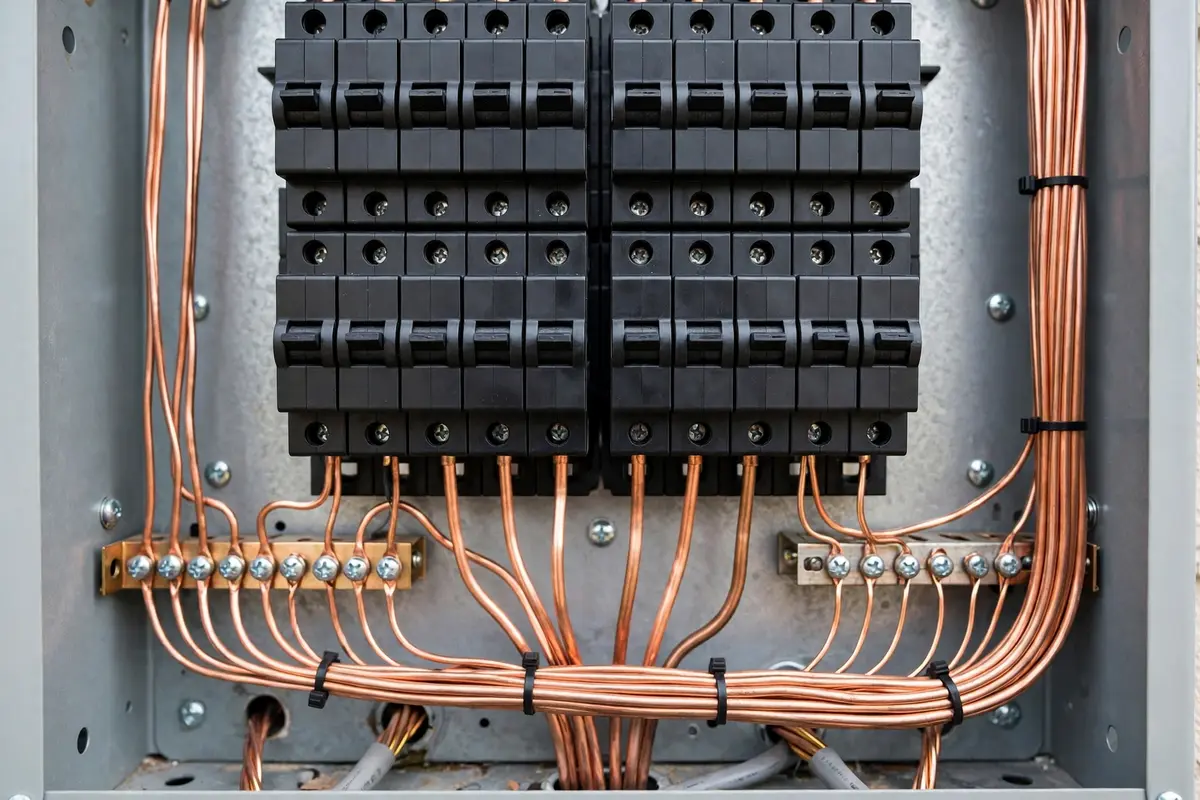
Wire gauge works backwards from what newcomers expect: a smaller gauge number means a thicker wire that can carry more current. That is why the table moves from 12 AWG for small chargers to 6 AWG for large ones. Thicker wire also resists heat better and loses less voltage along its length, which is why a long run sometimes needs thicker wire than a short run for the same charger. The two properties — current capacity and voltage drop — both matter, and they pull in the same direction: longer runs favour thicker wire.
Material matters too. Most modern residential EV circuits use copper conductors. Aluminium conductors exist and are used in some larger feeders, but aluminium requires larger sizes for the same current, special terminations, and careful handling, and it is not a like-for-like swap for copper at the same gauge. If an existing circuit uses aluminium, or if a quote proposes aluminium for a branch circuit to a charger, ask the electrician to explain the sizing and termination plan in full. For a typical home charger circuit, copper is the straightforward choice, and the table above assumes copper.
The route the wire takes affects the choice as well. Wire run through a hot attic, bundled with other current-carrying conductors, or installed in conduit in a sun-exposed location can need a larger size than the same wire in a cool, open run, because heat cannot escape as easily. Wire type also matters: the cable or conductor type must suit the location — interior walls, garage walls, outdoor runs, and underground runs each have their own requirements, and a wire type suited to one is not automatically suited to another. None of this is visible from the charger or the panel, which is why two houses with the same charger can legitimately end up with different wire sizes. The visible pairing — charger current and breaker — stays the same; the wire is where the house itself has a say.
Voltage drop is the last wire consideration worth understanding. As current travels along wire, a small amount of voltage is lost, and the loss grows with distance and current and shrinks with thicker wire. A small voltage drop is normal and harmless. A large one shows up as slower charging, warmer wire, and, in extreme cases, a charger that faults or a car that charges below its expected rate. The practical takeaway is simple: if your charger will sit far from the panel — a detached garage, the far end of a long house, a driveway pedestal — mention the distance early, because it is one of the factors that can move the wire size up a step and change the scope of the job. The cost-factors article covers distance as a scope factor, and the outdoor installation article covers the pedestal and exterior-run details.
5. Plug-In Versus Hardwired: Why the Ceiling Differs
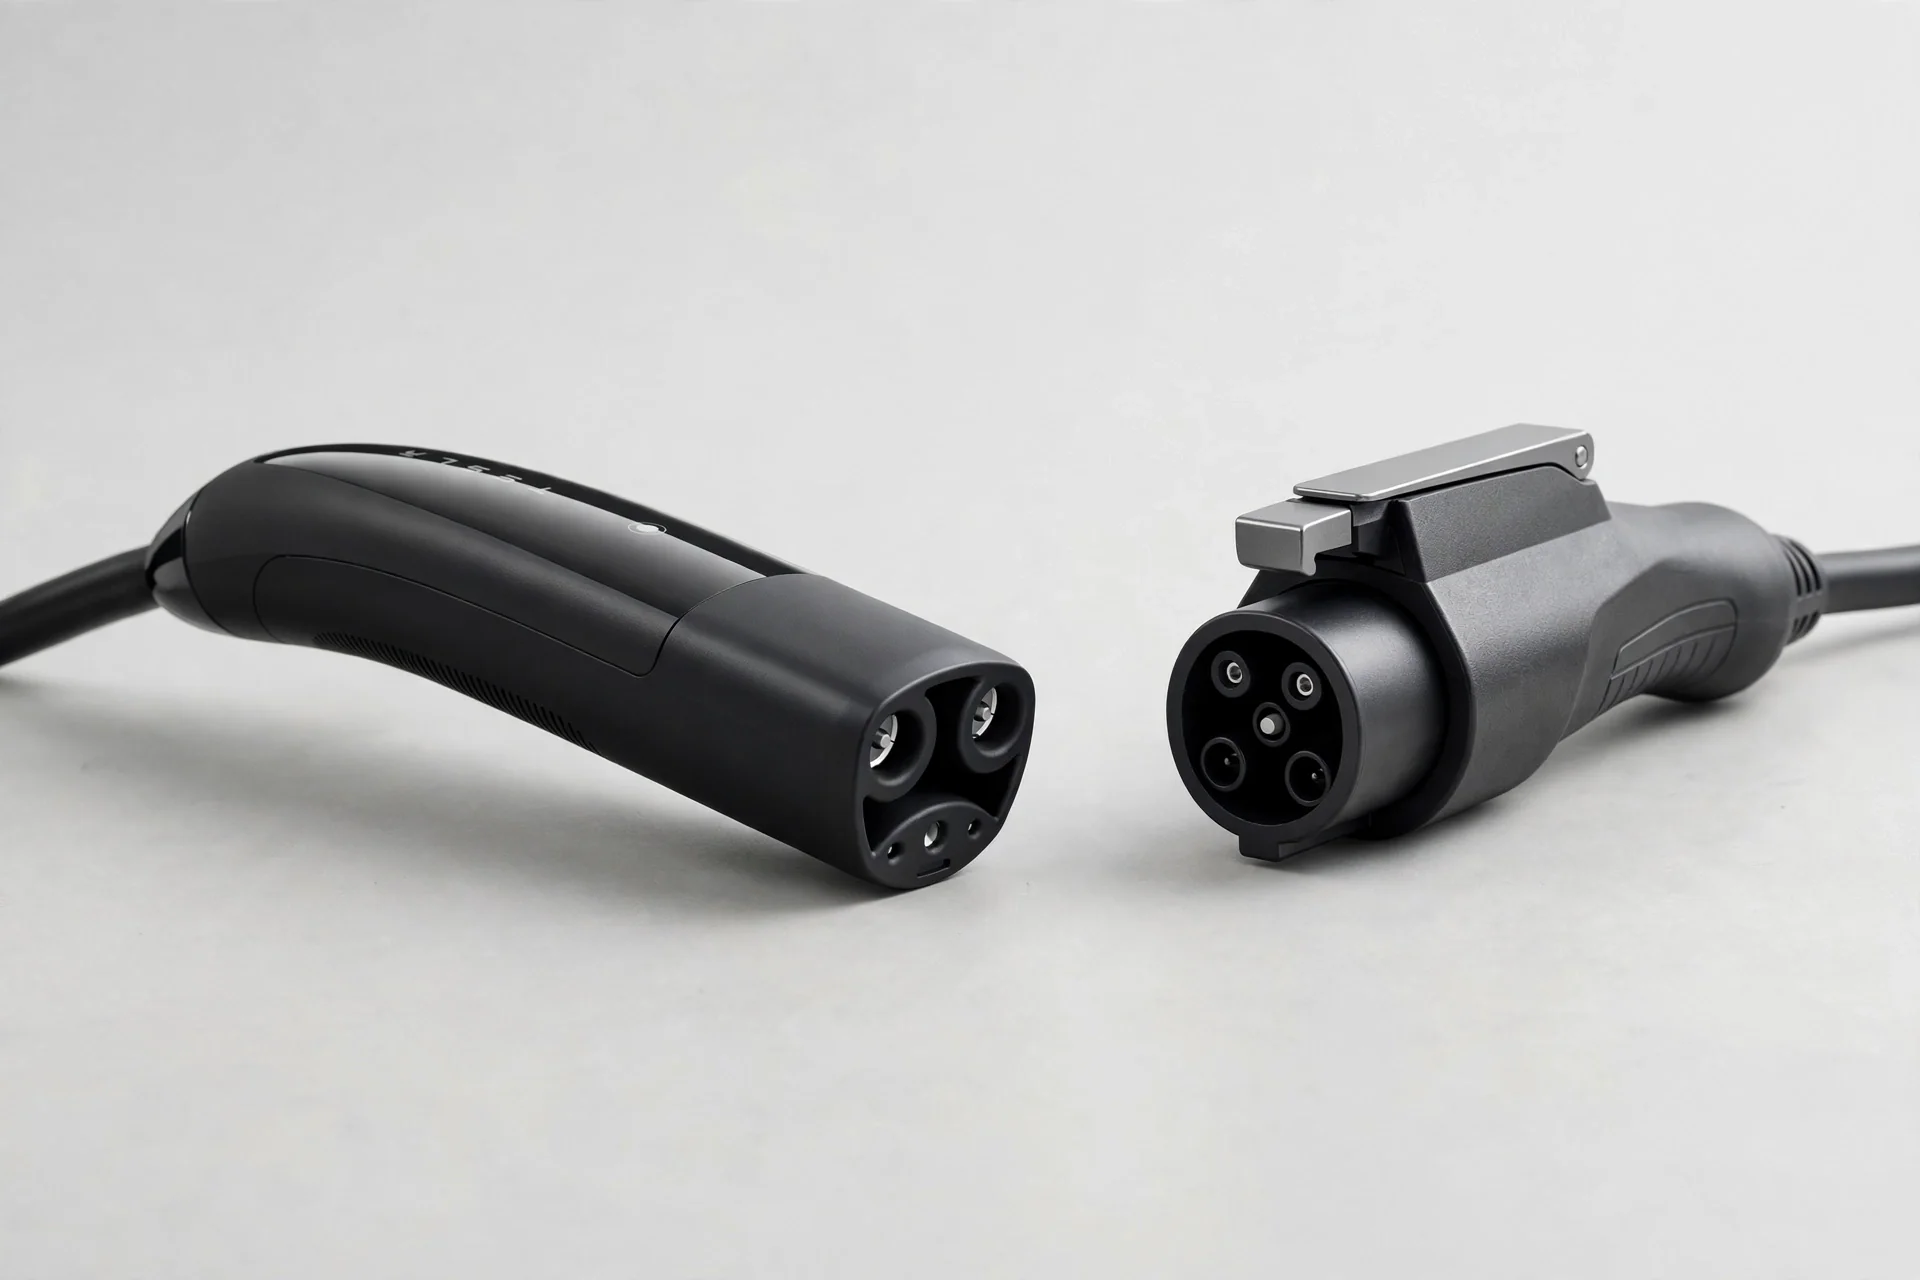
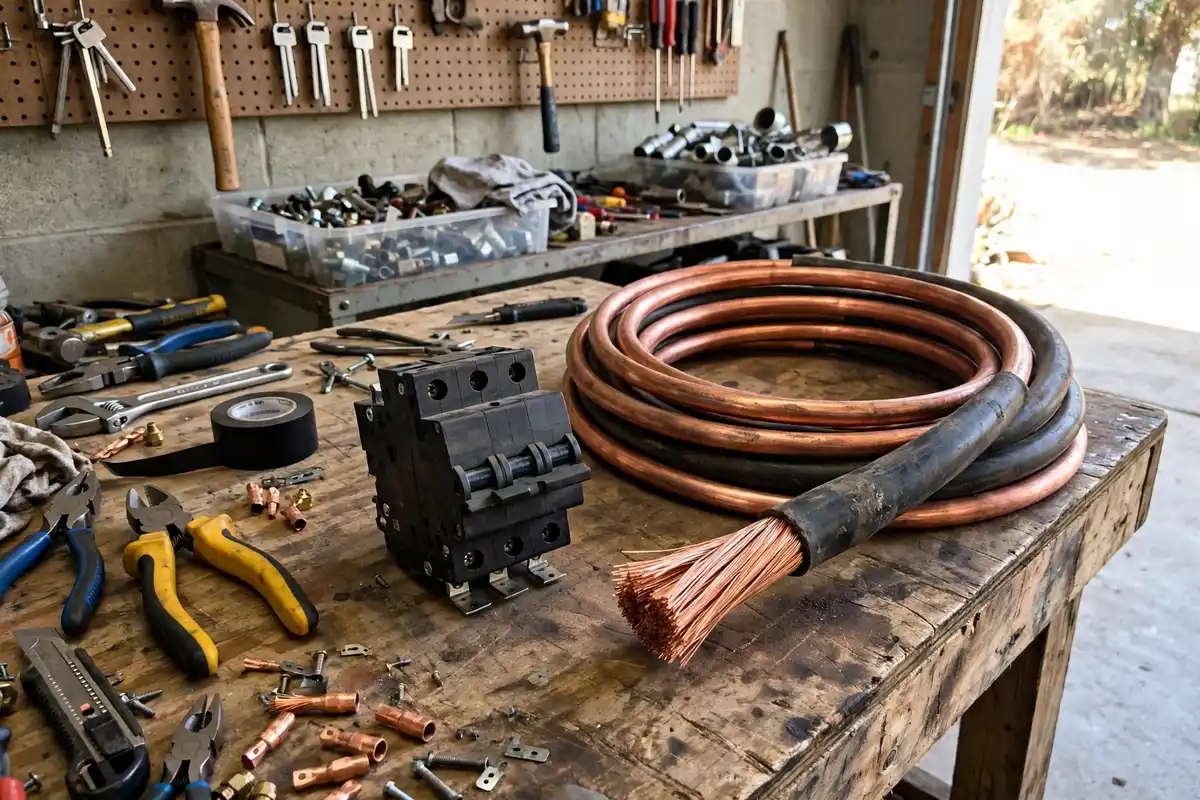
The plug-in versus hardwired choice changes the sizing ceiling, and owners who miss this end up surprised. A NEMA 14-50 outlet is a 50-amp receptacle on a 50-amp circuit, and the continuous-load rule caps charging through it at 40 amps. That means a plug-in charger, however capable its internals, charges at no more than 40 amps when it is plugged into a 14-50 outlet. A hardwired charger has no outlet in the chain, so a 48-amp charger on a 60-amp circuit can charge at its full 48 amps. The difference is not a quirk of one brand; it follows from the outlet being part of the circuit.
This has a planning consequence. If you want the full 48-amp charging current, the installation must be hardwired — a plug-in arrangement cannot deliver it through a 14-50 outlet, and there is no outlet upgrade that changes that, because the 14-50 itself is the limit. If 40 amps is enough for your driving — and for most households charging overnight, it is — then a plug-in charger on a 14-50 circuit is a sound choice, and it carries the flexibility benefit of being removable, which the moving-house guide covers. The mistake is buying a 48-amp charger, plugging it into a 14-50 outlet, and expecting 48 amps. The charger will configure itself down, or the installer will configure it down, and the extra capability will sit unused.
The disconnect question also differs. A hardwired charger installation often includes a disconnect switch or a breaker that serves as the disconnect, located where the code requires it for the installation. A plug-in charger can be disconnected by unplugging it, which is why the disconnect arrangement is simpler. Neither arrangement changes the breaker and wire pairing in the table, but both are part of what the installer plans, and both are worth confirming in a quote: ask whether a disconnect is included, where it will sit, and whether it is part of the quoted scope or an addition.
One more plug-in note: the outlet itself must be of a quality suited to continuous load. A light-duty receptacle that is fine for an appliance used occasionally can overheat under hours of EV charging current, which is why installers specify industrial-grade receptacles for EV outlets and why a cheap outlet swap is a false economy. If your plug-in charger installation is quoted with a standard-grade outlet, ask about the receptacle specification. The outlet is the most-handled part of a plug-in installation, and it deserves the same care as the breaker and the wire.
6. Panel Capacity: The Check That Comes Before Sizing
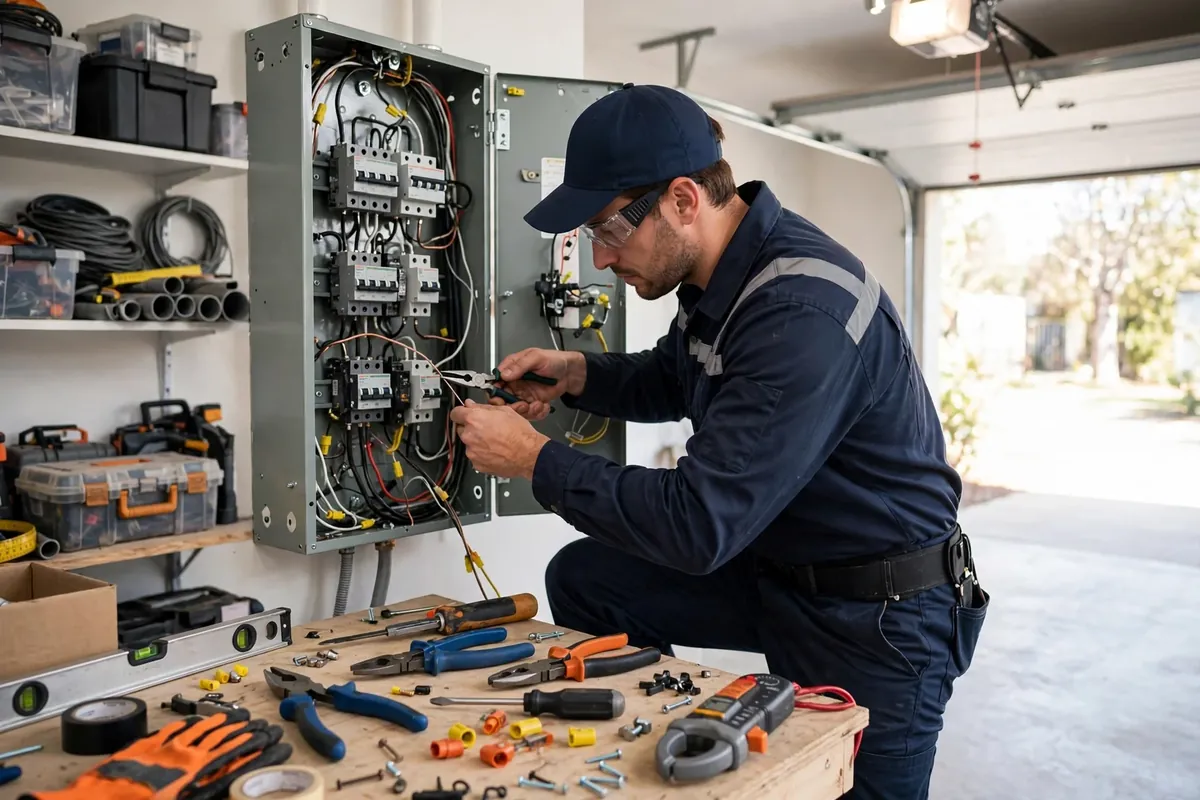
Breaker and wire sizing answers the question of what circuit a charger needs. Panel capacity answers the prior question of whether the house can feed that circuit at all. The two are often confused, and confusing them leads to quotes that size the circuit correctly and still cannot be installed. A 200-amp panel with ample spare capacity takes a 60-amp charger circuit without a second thought. A 100-amp panel serving electric cooking, electric water heating, air conditioning, and a pool may not, even though the charger circuit itself is sized perfectly on paper.
The panel check is a load calculation: the electrician totals the house's loads under the code's method, accounts for what runs at the same time, and determines how much headroom remains. The result decides among several paths: install the full-size circuit, install a smaller circuit by configuring the charger to a lower current, add a load-management device that pauses or limits charging when the house is busy, or upgrade the panel or service. All four are legitimate outcomes, and the load calculation is what chooses among them. The panel upgrade guide and the 100-amp panel guide walk through each path, and the two-EVs guide covers load management for households adding a second charger later.
Charger current settings interact with panel capacity in a useful way. A charger that can draw 48 amps can be configured to 32 or 24 amps, which needs a smaller circuit and less panel headroom. That is not a defeat; it is a deliberate trade. For a household that drives moderate daily miles and charges overnight, a 32-amp or even 24-amp setting may still finish charging well before morning, and the smaller circuit may be the difference between installing now and waiting for a panel upgrade. The question to ask is not "what is the largest charger I can install" but "what charging current do I actually need by morning, and what circuit does that need". The beginner's guide covers the overnight arithmetic for first-time owners.
7. Reusing an Existing Circuit: Dryer Circuits, Spare Breakers, and Old Wiring
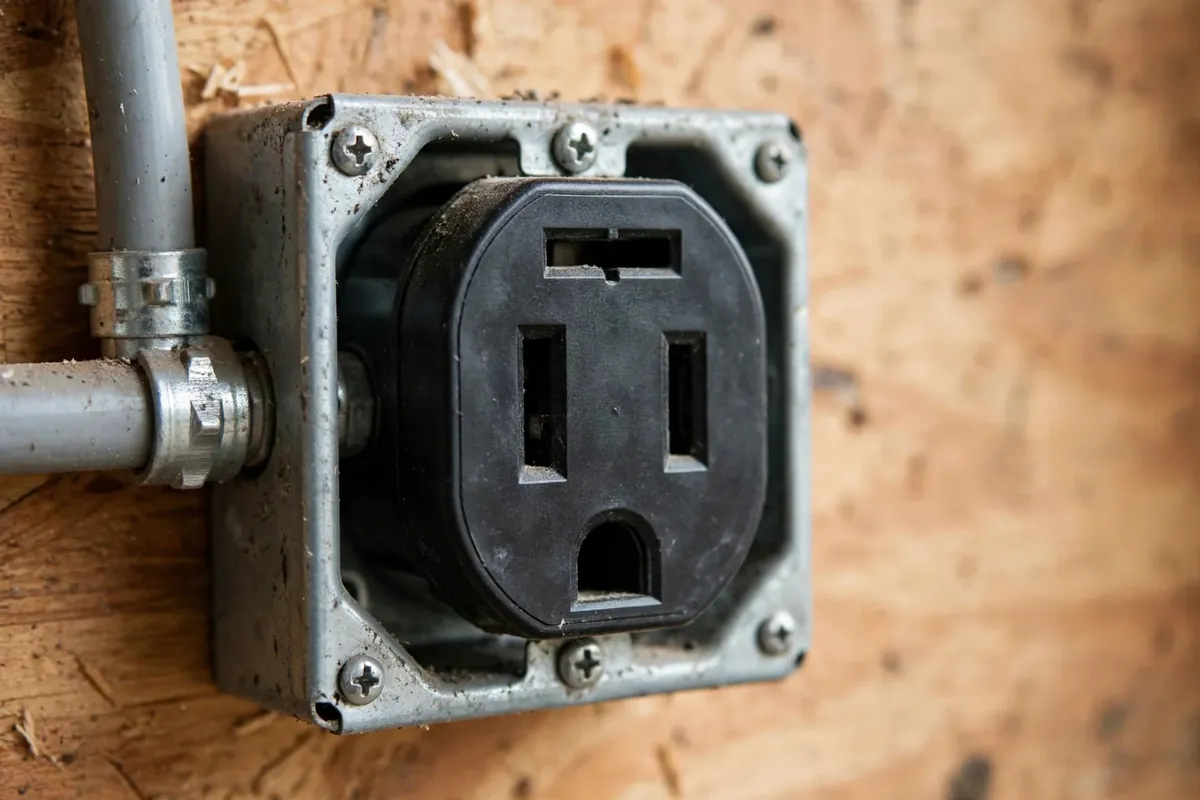
Reusing an existing circuit is the idea that generates the most questions, and the answer is almost always "it depends on the circuit". A spare breaker with no wire attached is not a circuit at all; it is a starting point, and the wire still has to be run. A dryer circuit is a real circuit, but it was sized for a dryer, it may be shared with a laundry outlet, and it may use a receptacle type that does not suit a charger. A circuit that once fed an electric range, a welder outlet, or an old air-conditioning unit may have the capacity but the wrong receptacle, the wrong wire type for the new route, or a panel that no longer meets current requirements.
The safe way to think about reuse is as a set of checks, not a yes-or-no answer. Is the circuit dedicated, meaning nothing else draws from it? Is the wire size right for the charger current under the continuous-load rule? Is the receptacle type and condition right for sustained EV current? Is the breaker type right, including any GFCI requirement for the configuration? Is the panel able to spare the capacity? If every check passes, reuse can be sound, and an electrician can confirm it quickly. If any check fails, the honest answer is a new or modified circuit, and the cost of that work is part of the job, not an upsell. The dryer-outlet question is covered from the safety angle in the DIY versus professional article, which explains why a temporary dryer-outlet arrangement is not a long-term charging plan.
Old wiring deserves its own caution. Houses with older panels, cloth-insulated conductors, or panels from makers whose equipment is no longer supported can present problems that have nothing to do with the charger circuit's arithmetic. An installer who opens a panel and finds deterioration, overheating marks, or obsolete equipment may need to address the panel before adding any circuit, and that is a safety finding, not a sales tactic. If your house is older and the panel has never been inspected, mention that when booking, so the visit can be planned with enough time for a proper panel assessment.
8. Inspection, Labels, and Living With the Finished Circuit
A finished EV circuit should be inspectable at a glance: the breaker labelled for the charger, the charger configured to the circuit's charging current, and the installation matching the permit and inspection record where a permit was required. The permit guide covers when Orlando and Florida requirements call for a permit and what the inspection covers. Labelling sounds trivial, but it matters the first time someone else works on the panel — a future electrician, a home inspector at sale time, or a new owner — and a breaker labelled "EV charger, 50A circuit, 40A charging" tells the next person everything they need to know without guessing.
After installation, the owner's job is mostly observation. Note the charger's configured current if the installer shares it, and keep it with the charger's manual. If charging ever slows unexpectedly, check the car's limit and schedule before suspecting the circuit, as the beginner's guide and the noise-and-heat article explain. If the breaker trips, follow the tripping guide rather than resetting repeatedly. And if a future change is planned — a second charger, a more capable car, a move to a new house — revisit the sizing table with the new numbers rather than assuming the existing circuit still fits. Circuits are sized for a specific charger current; changing the charger can mean changing the circuit, and the replace-or-upgrade guide covers that decision.
One final planning note: size for the charger you will actually use, and leave the record, not just the circuit. A charger configured to 40 amps on a 50-amp circuit, with the setting recorded and the breaker labelled, is a finished job that any future electrician can understand. A charger whose setting nobody recorded, on a circuit nobody labelled, is a puzzle for the next person. The difference costs nothing at installation time and saves real confusion later.
Key Takeaways
- A Level 2 charger is a continuous load: the circuit is sized so charging current is 80 percent of circuit capacity, which is why a 40-amp charger pairs with a 50-amp breaker and a 48-amp charger pairs with a 60-amp breaker.
- The usual pairings run from 16 amps on a 20-amp circuit with 12 AWG copper up to 48 amps on a 60-amp circuit with 6 AWG copper, with the electrician confirming wire for run length, route, and local code.
- Breaker type matters: plug-in outlet circuits generally need GFCI protection, while hardwired chargers generally carry their own ground-fault protection, and the two should not be stacked without a reason.
- Wire gauge, material, route, and length all affect the final wire choice; a long run or a hot route can move the wire one size larger.
- A plug-in charger on a NEMA 14-50 outlet is capped at 40 amps of charging current, while a hardwired charger can use the full 48 amps on a 60-amp circuit.
- Panel capacity is a separate check from circuit sizing: a load calculation decides whether the house can feed the circuit, a smaller charger setting, a load-management device, or a panel upgrade.
- Reusing an existing circuit requires checking dedication, wire size, receptacle type, breaker type, and panel headroom — every check must pass.
- A tripping breaker is a symptom to diagnose, never a reason to fit a larger breaker without finding the cause.
Why does a 40-amp charger need a 50-amp breaker instead of a 40-amp breaker?
Because home EV charging is a continuous load that can run for hours, and the circuit must be sized so the sustained current is 80 percent of the circuit capacity. Forty amps is 80 percent of 50 amps, so a 50-amp circuit is the correct pairing. A 40-amp breaker on a 40-amp charger leaves no margin for sustained current, and the breaker will trip during long sessions. The same arithmetic applies at every level: divide the charging current by 0.8 to find the circuit size.
If my breaker is larger than the charger needs, is that a problem?
A larger breaker alone is not a problem, but it is also not an upgrade by itself, because the wire and the charger setting must match the circuit as a whole. A 60-amp breaker on wire sized for a 50-amp circuit does not create a 60-amp circuit; it creates a circuit whose protection exceeds what its wire can carry continuously. What matters is the set: breaker, wire, outlet or disconnect, and charger setting, all sized together. If an installer fits a larger breaker, ask what wire and charger setting go with it.
Does a plug-in charger need a different breaker than a hardwired charger?
The breaker size follows the same continuous-load rule in both cases, but the ceiling differs. A plug-in charger on a NEMA 14-50 outlet charges at no more than 40 amps, because the 50-amp outlet and circuit cap continuous charging at 40 amps. A hardwired charger on a 60-amp circuit can charge at 48 amps. The protection arrangement also differs: plug-in outlet circuits generally need GFCI protection, while hardwired chargers generally provide their own ground-fault protection internally.
Do I need a GFCI breaker for a hardwired EV charger?
Usually not, because a hardwired charger generally includes its own ground-fault protection, and adding a second layer can cause nuisance tripping in some configurations. A plug-in charger is the different case: the outlet it plugs into generally requires GFCI protection, often supplied by a GFCI breaker. The installer decides the arrangement for the configuration being installed. Do not add or remove GFCI protection on your own; if a hardwired charger trips repeatedly, have the cause diagnosed rather than changing the protection arrangement by trial and error.
What happens if the wire is too thin for the breaker?
The wire can overheat under sustained current, because the breaker will allow more current than the wire can carry continuously. That is why wire and breaker are sized as a set and why a larger breaker never fixes an undersized wire. Signs of trouble include warmth at outlets or connections, discoloration, or a breaker that trips under load, but the safe approach is prevention: confirm the wire size against the breaker and the charger current before the circuit is energised, and have any existing circuit checked if its wire size is unknown.
Can an electrician convert my existing dryer circuit for an EV charger?
Sometimes, but only after checking that the circuit is dedicated, that its wire suits the charger current under the continuous-load rule, that its receptacle type and condition suit sustained EV current, and that the panel can spare the capacity. A dryer circuit that is shared with a laundry outlet, or that uses a receptacle type that does not suit a charger, will need modification or replacement rather than simple reuse. A temporary arrangement of plugging a charger into a dryer outlet is not a long-term charging plan, and a permanent conversion is an electrician's job with its own inspection where a permit applies.
Related Posts
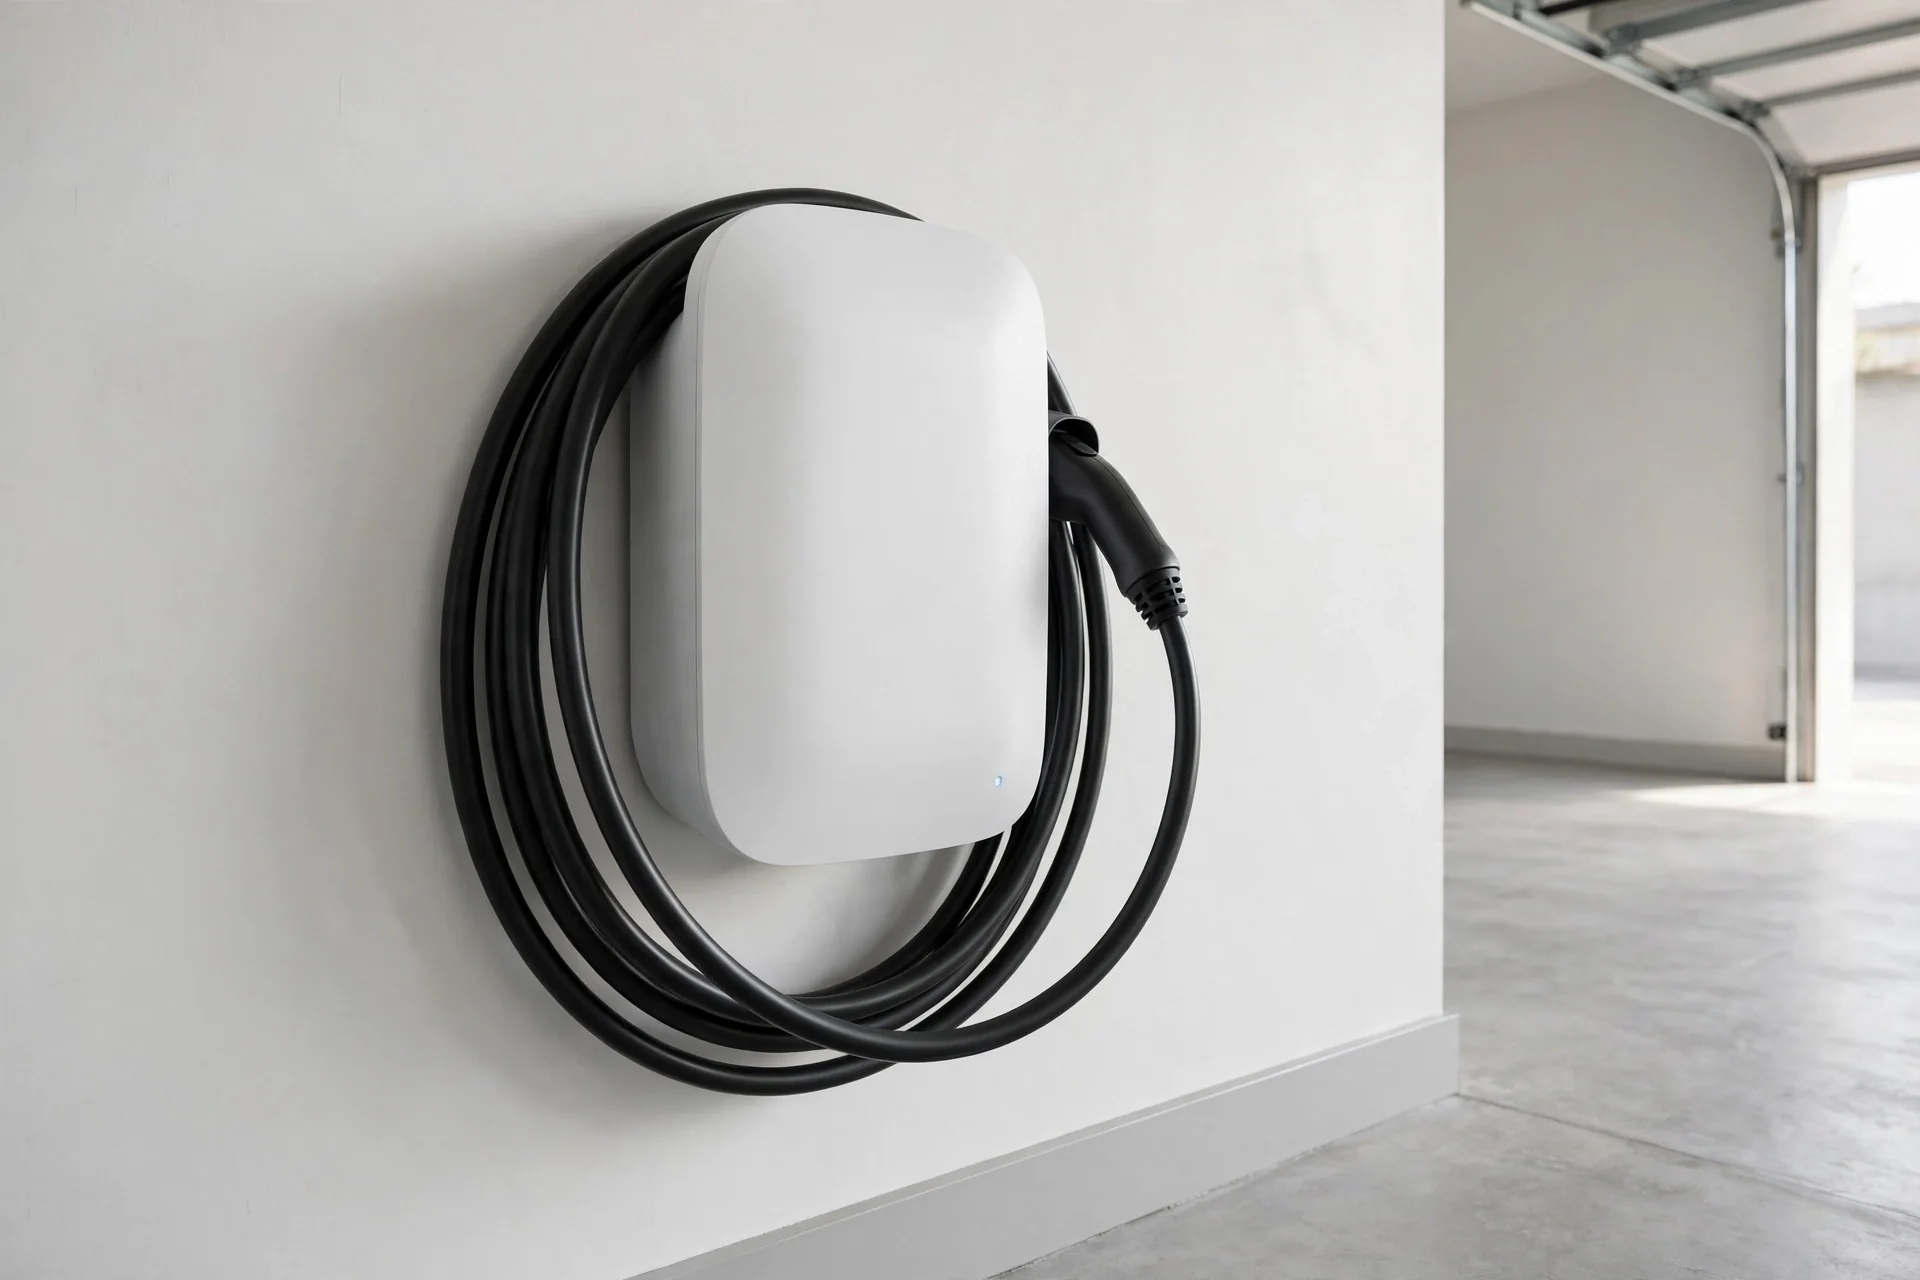
- NEMA 14-50 Outlet vs Hardwired EV Charger: Which Is Right for You?
- Do You Need a Panel Upgrade for an EV Charger?
- EV Charger Keeps Tripping the Breaker? Causes and Fixes
- What an EV Charger Installation Price Actually Depends On
Planning a new circuit and want the breaker and wire sized for your charger and panel? Call now at (407) 555-0100 — we check the panel, size the circuit, and install it across Orlando.
Sources consulted: NEC Article 625 EV charging system provisions on continuous load and circuit sizing, charger installation manuals on configured current limits, and Orlando residential installation practice for plug-in versus hardwired circuits.